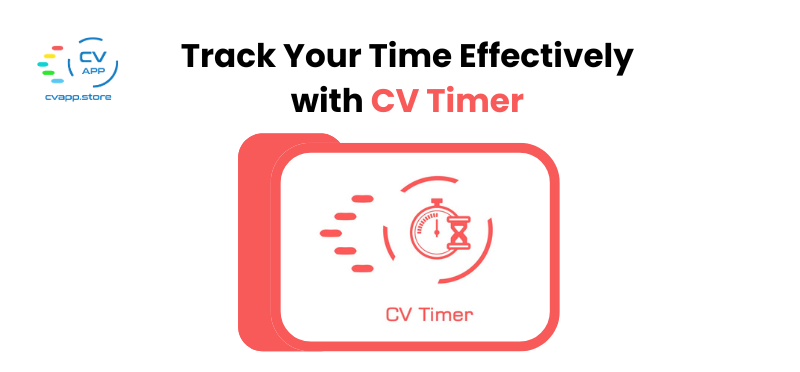
Track Your Time Effectively with CV Timer: A Game-Changer for Opportunity Management
Have you ever lost track of time while working on an opportunity?
Do you wish there was an efficient way to monitor the time spent on deals?
If these questions resonate with you, CV Timer is the perfect solution. Designed to revolutionize time management, CV Timer allows you to track and log your time effortlessly, aligning it directly with your deals or opportunities.
In this blog, we’ll explore CV Timer, an innovative product brought to you by the talented developers at CloudVandana.
Introducing CV Timer
CV Timer is a powerful tool that helps individuals and teams track their time on specific tasks. Automatic logging provides a seamless way to capture hours linked to deals or opportunities.
This app streamlines time management and empowers managers to monitor employee performance through detailed time-tracking data. CV Timer can be easily added to the Homepage and Utility Bar of any Salesforce application.
CloudVandana offers a pre-configured app with integrated CV Timer component, ensuring you can start using it immediately without additional setup.
Click the link in the image to learn more about CV Timer.
Installation Guide for CV Timer
To install the CV Timer app in your Salesforce environment, follow these steps:
- Access the Installation Link
Visit the provided link to install the CV Timer app in either Production or Sandbox Salesforce Org. - Select Your Environment
Select your environment (Sandbox or Production) and click the installation link. We recommend starting with Sandbox to test the app before moving to Production. - Grant Access
On the installation screen, specify which users should have access to the CV Timer app and its components. - Acknowledge and Install
Tick the acknowledgment checkbox and click the Install button. - Completion Confirmation
After installation, click Done to return to Salesforce. If installation takes time, you will receive an email notification once it is complete. - Verify Installation
Confirm successful installation by navigating to Setup > Installed Packages and checking the list.
How to Configure CV Timer
CV Timer’s interface can be added to the Homepage of any Salesforce application or accessed directly from the pre-configured CV Timer app.
Steps to Add CV Timer to a Home Page
- Navigate to the Home tab of your app, click the Gear Icon, and select Edit Page to open the Lightning App Builder.
- Search for “CVTimer” in the component library on the left.
- Drag and drop the CV Timer component to your desired section on the page layout.
- You can also add a Utility bar for the CV timer to any app to access the timer from any record page or app page.
- Save your changes.
Add CV Timer to the Utility Bar
To access CV Timer across various app pages, add it to the Utility Bar. Customize settings like labels, icons, and dimensions, though we recommend keeping the default configurations.
User Setup: Simplifying Time Tracking
With CV Timer’s user-friendly interface, you can manage your time efficiently using basic controls:
- Start: Activates the timer.
- Stop: Pauses the timer.
- Reset: Resets the timer to 00:00:00.
- Create Time: Logs the recorded time into the CV Time Entry record.
Logging Time Entries
Access the CV Timer via the Home Tab, Utility Tab, or the CV Timer app. To log your time:
- Click Create Time after completing your task or when you need to record your work hours.
- If you log time from an Opportunity Record’s CV Timer utility, the app will automatically capture the opportunity details.
Accessing Logged Time Entries
Easily review your recorded time logs through the CV Time Entries Tab within the CV Timer app.
Partner with CloudVandana
Are you searching for skilled remote developers to enhance your organization? Schedule a consultation with CloudVandana, a leading staff augmentation firm in India. We’ll help you hire the best team tailored to your requirements. Contact us today!