OneDrive Connect: Installation & User Guide
monday.com Marketplace Link: https://monday.com/marketplace/listing/10000702/onedrive-connect
Installation Guide
Steps to Install
Open monday.com Marketplace, search for OneDrive Connect > click on the OneDrive Connect app card > click on Install.
Now OneDrive Connect is Installed in your System.
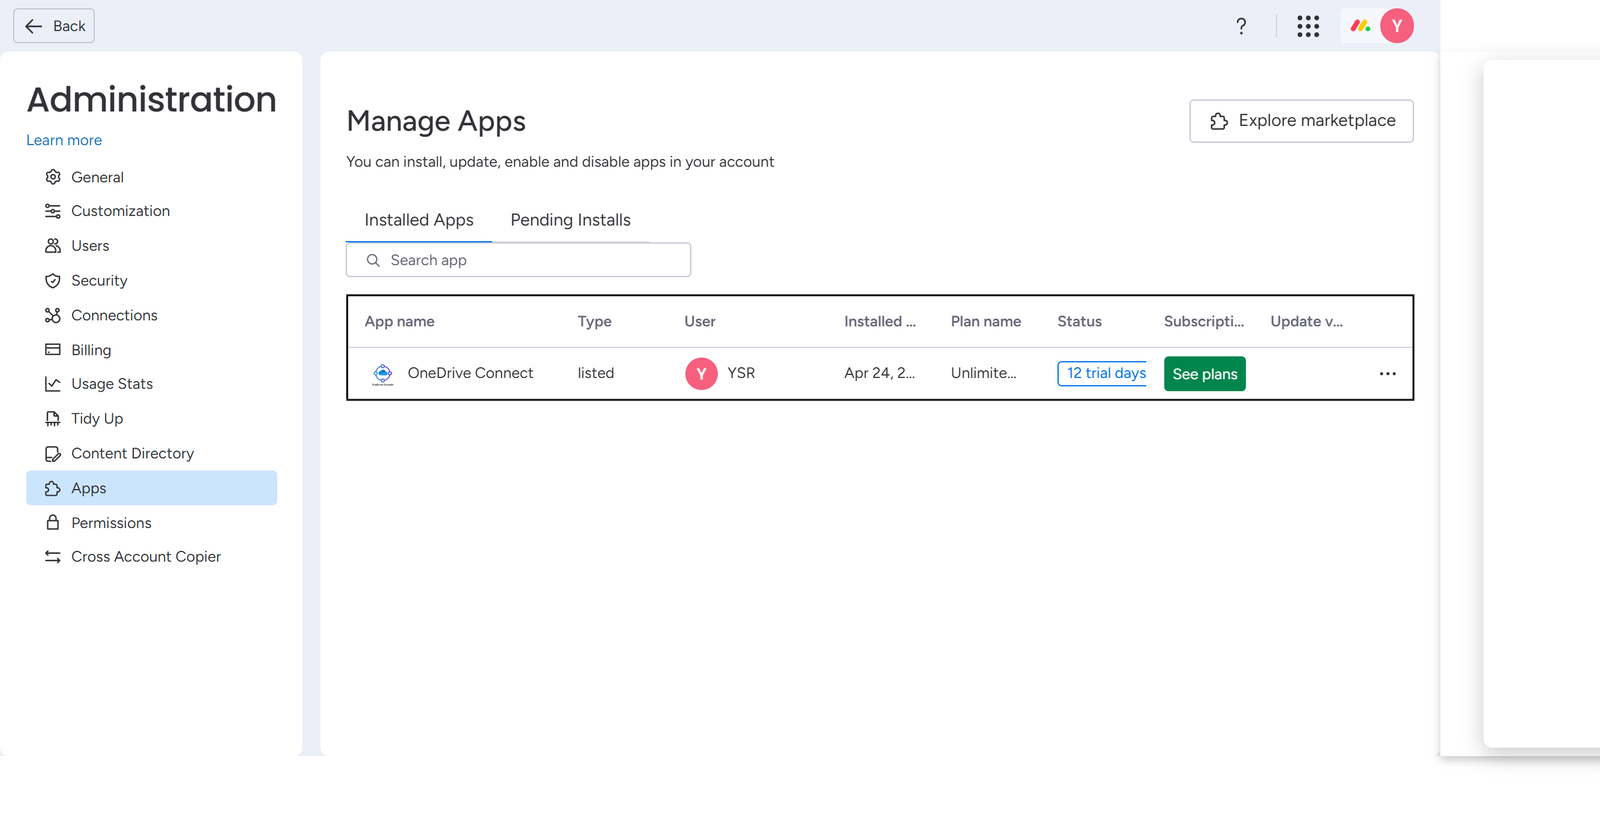
You can verify the same by clicking on the icon at the top right corner > click Administration > Apps, and you can view OneDrive Connect is Installed.
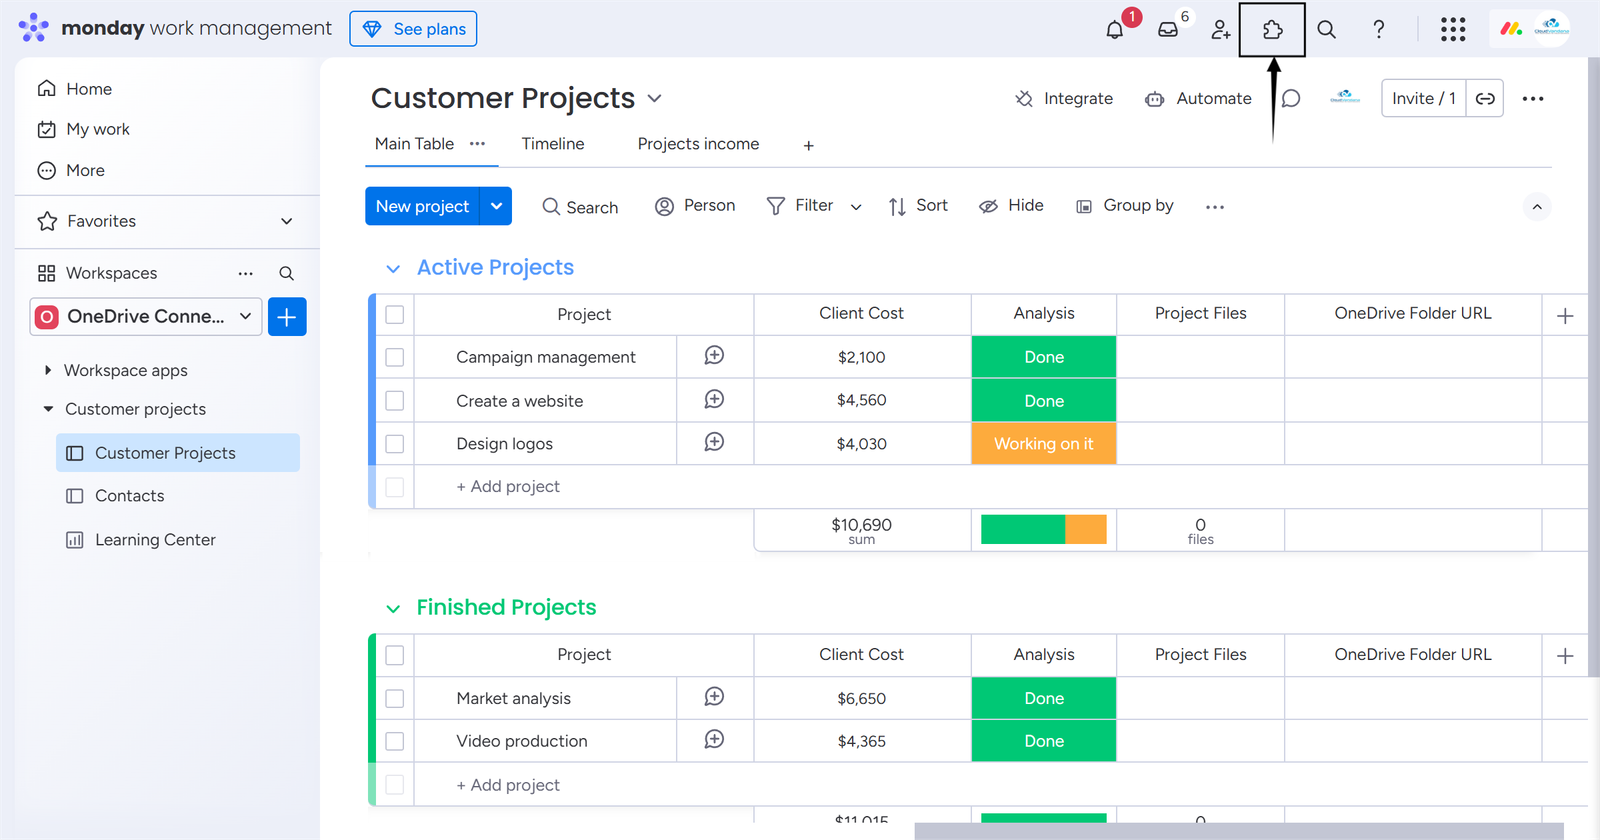
Connecting monday.com with OneDrive
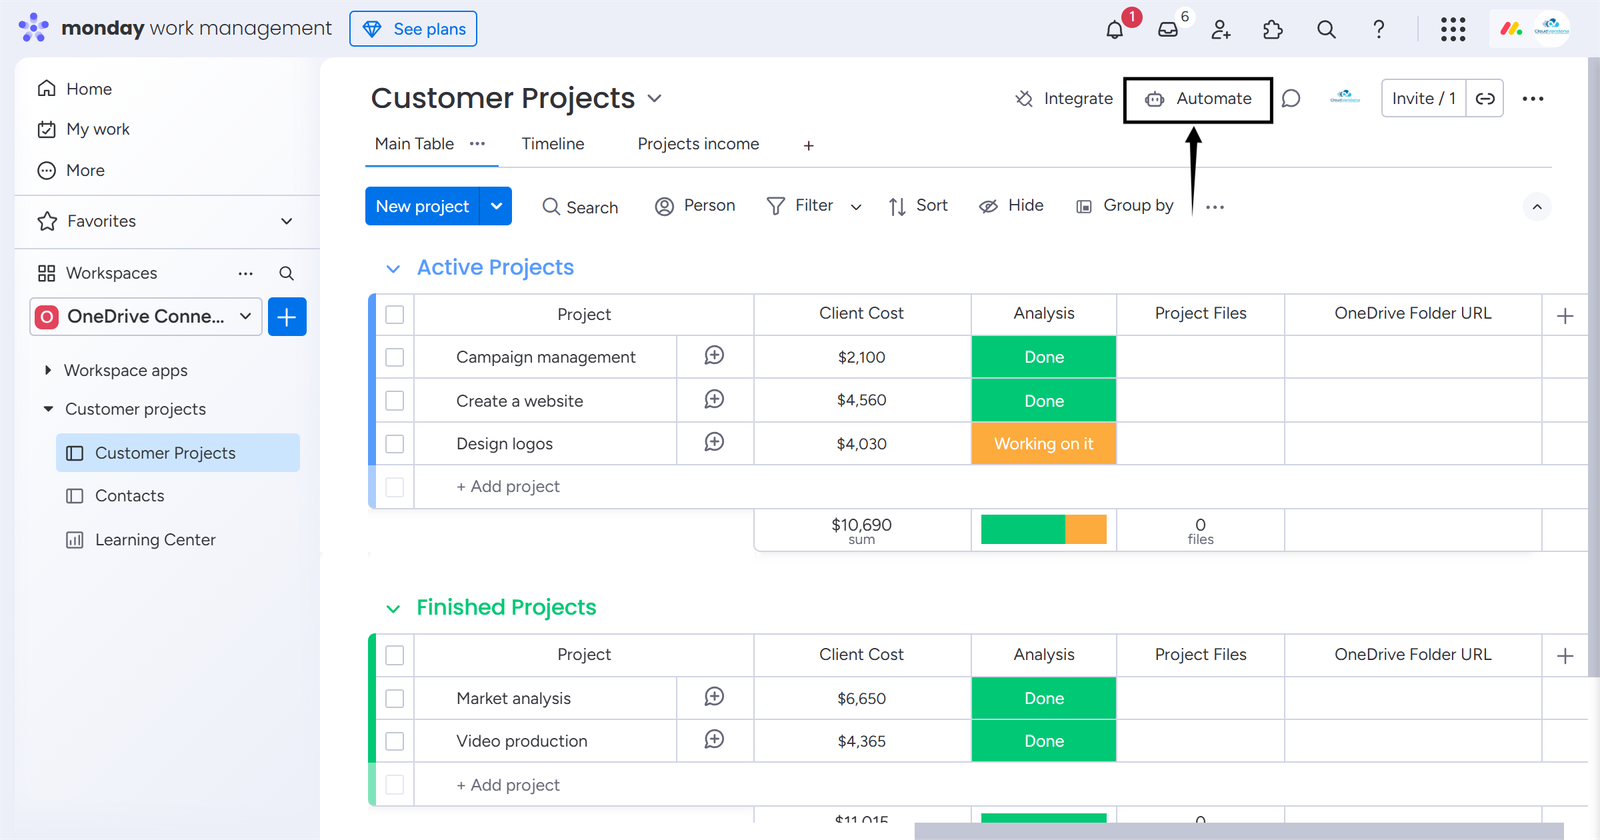
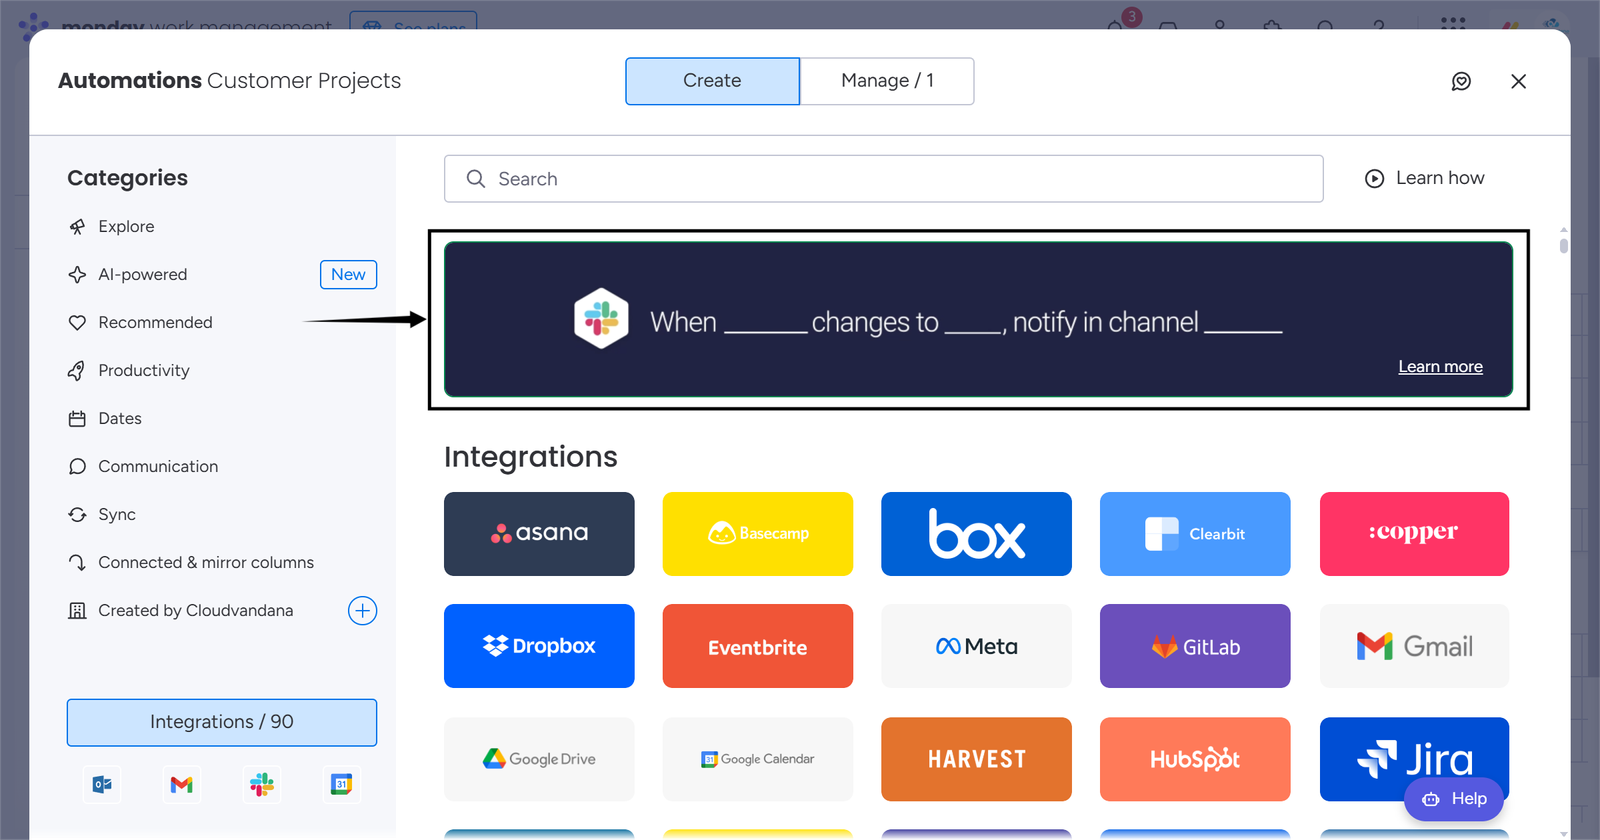
- To connect your OneDrive with monday.com, click on Automate > search OneDrive Connect > click on the OneDrive Connect app card > select an integration recipe of your choice.
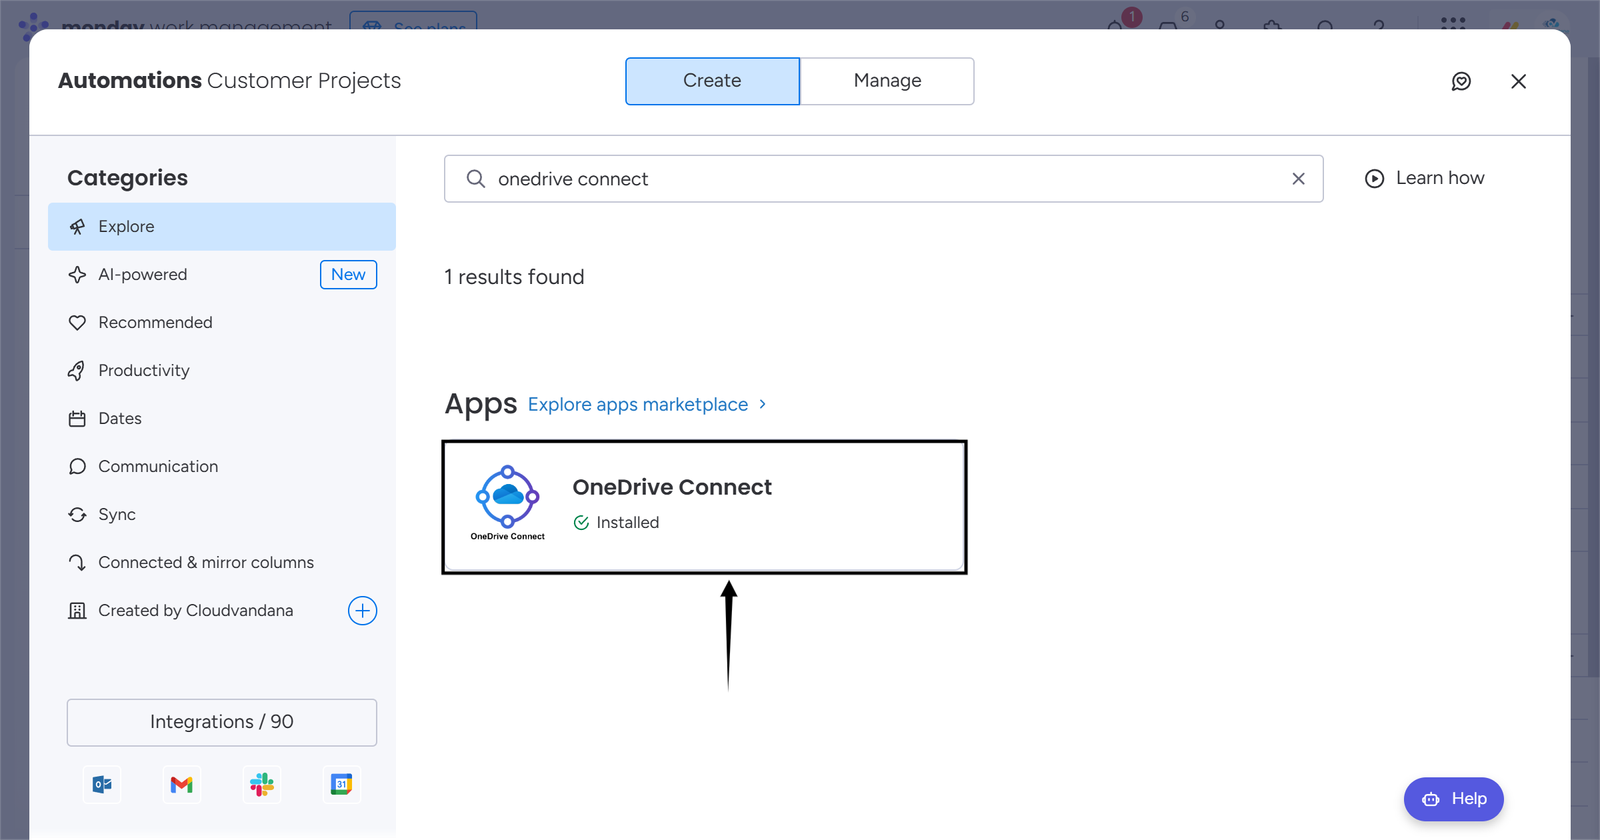
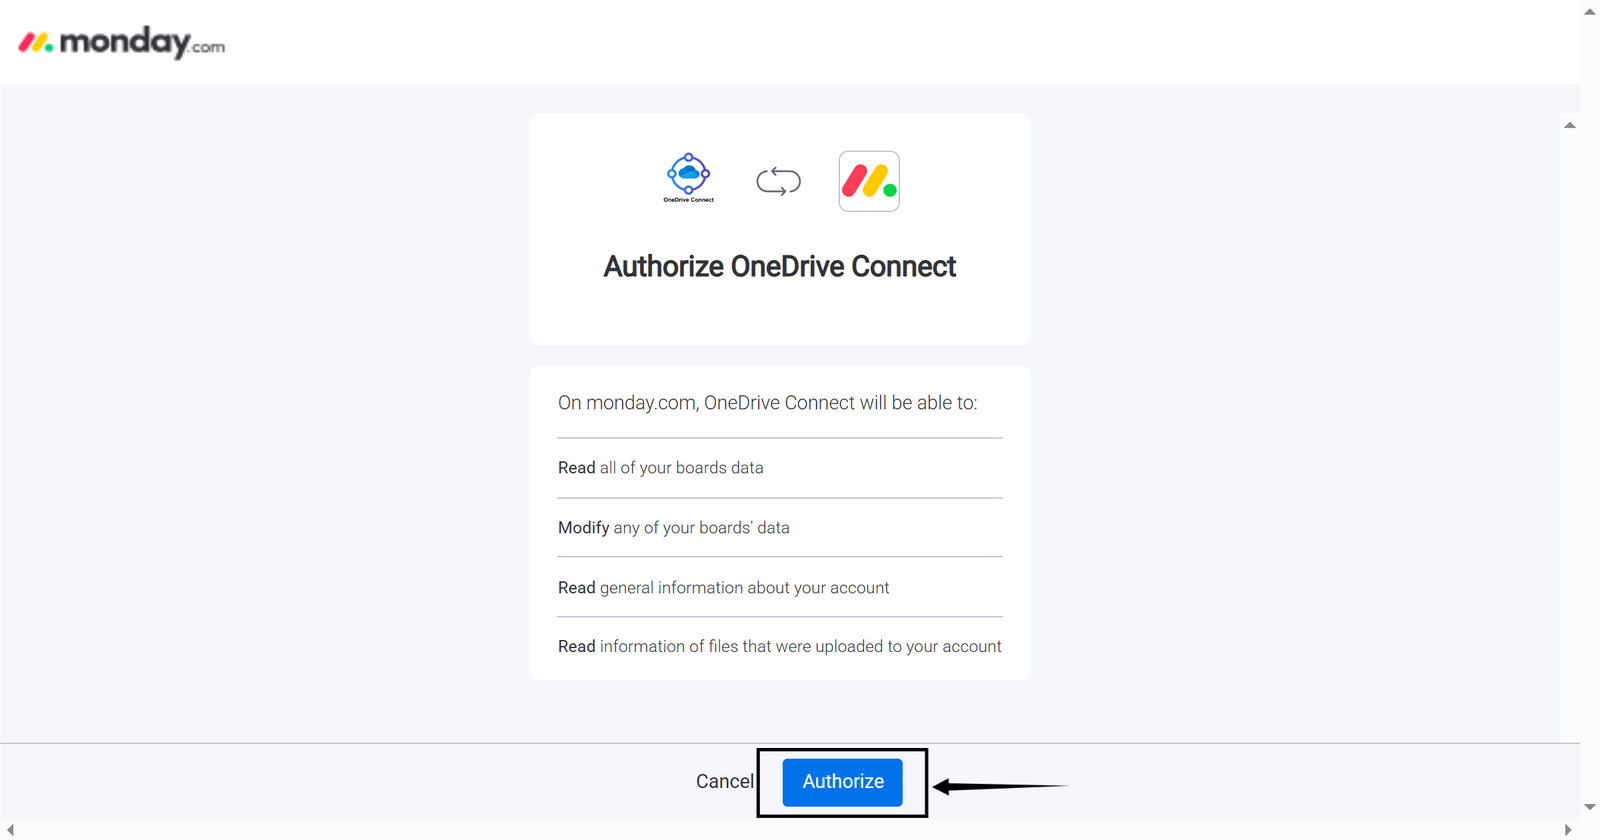
As soon as you select an integration recipe, you will be redirected first to authorize monday > click on Authorize > then you will be redirected to signin to OneDrive account.
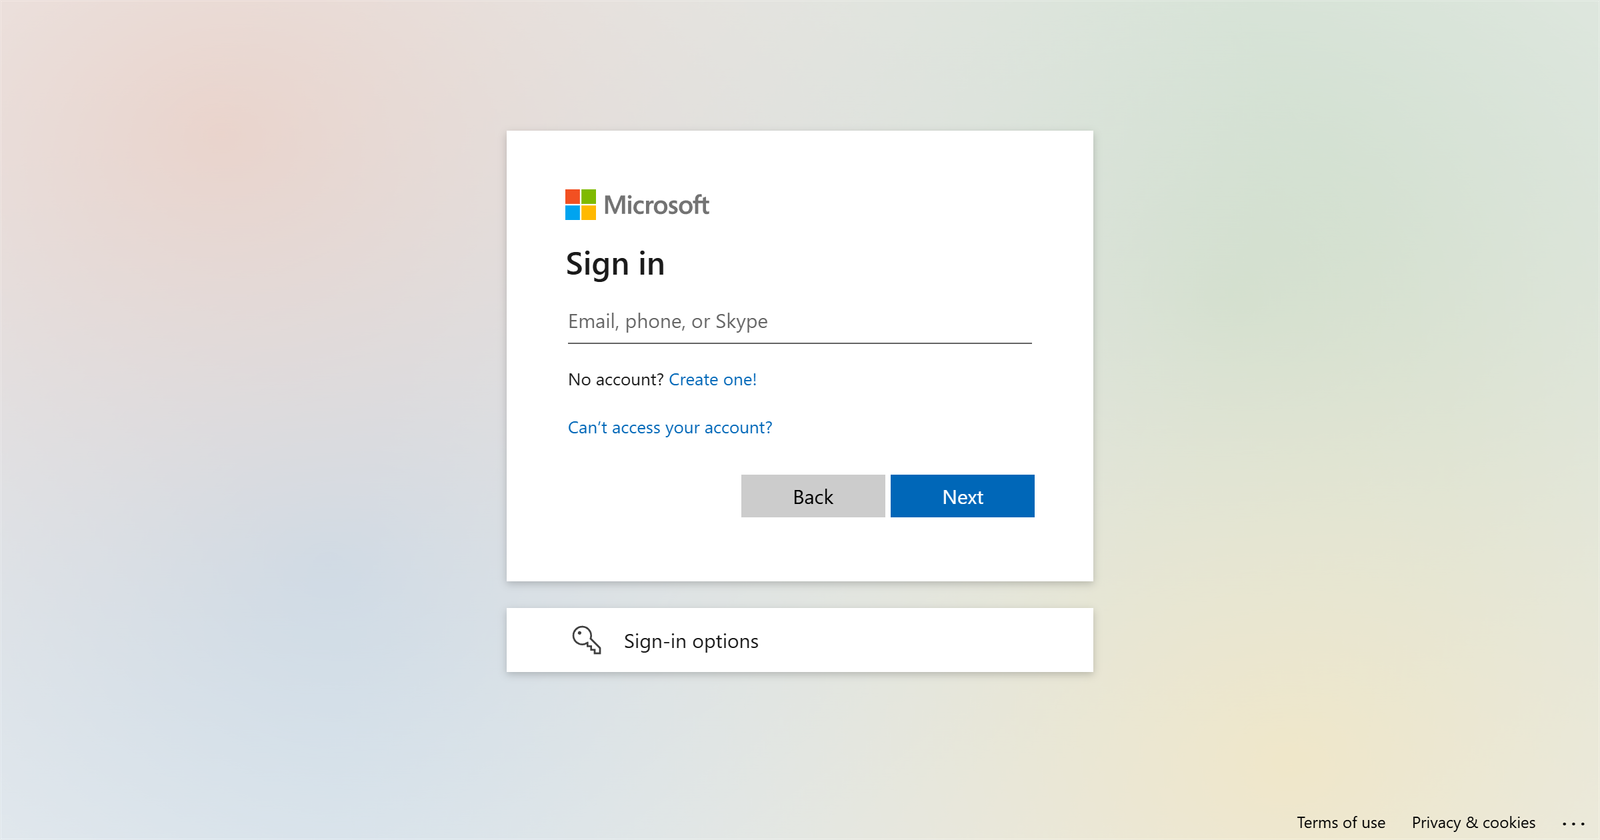
On successful sign-in, you will be redirected back to monday.com to create recipes.
Cheers 🍺! Your app is ready to use.
For any assistance with this process, send an email to “apps@cloudvandana.com” and we will help!
User Guide OneDrive Connect
Using OneDrive Connect App Integration Recipes
With the OneDrive Connect app, you can connect OneDrive account with monday.com and seamlessly manage your monday.com Files in OneDrive.
Now, open a board to use the OneDrive Connect app recipes.
Create a Folder and Save the Folder URL in the Link Column
Requirements for this recipe;
- A Folder URL from your Signed-In OneDrive account.
- Link column in the monday.com board. The OneDrive folder URL will be saved in this column.
- Status column in the monday.com board. This column will act as a trigger to run the recipe.
Select the integration recipe shown in the image below.

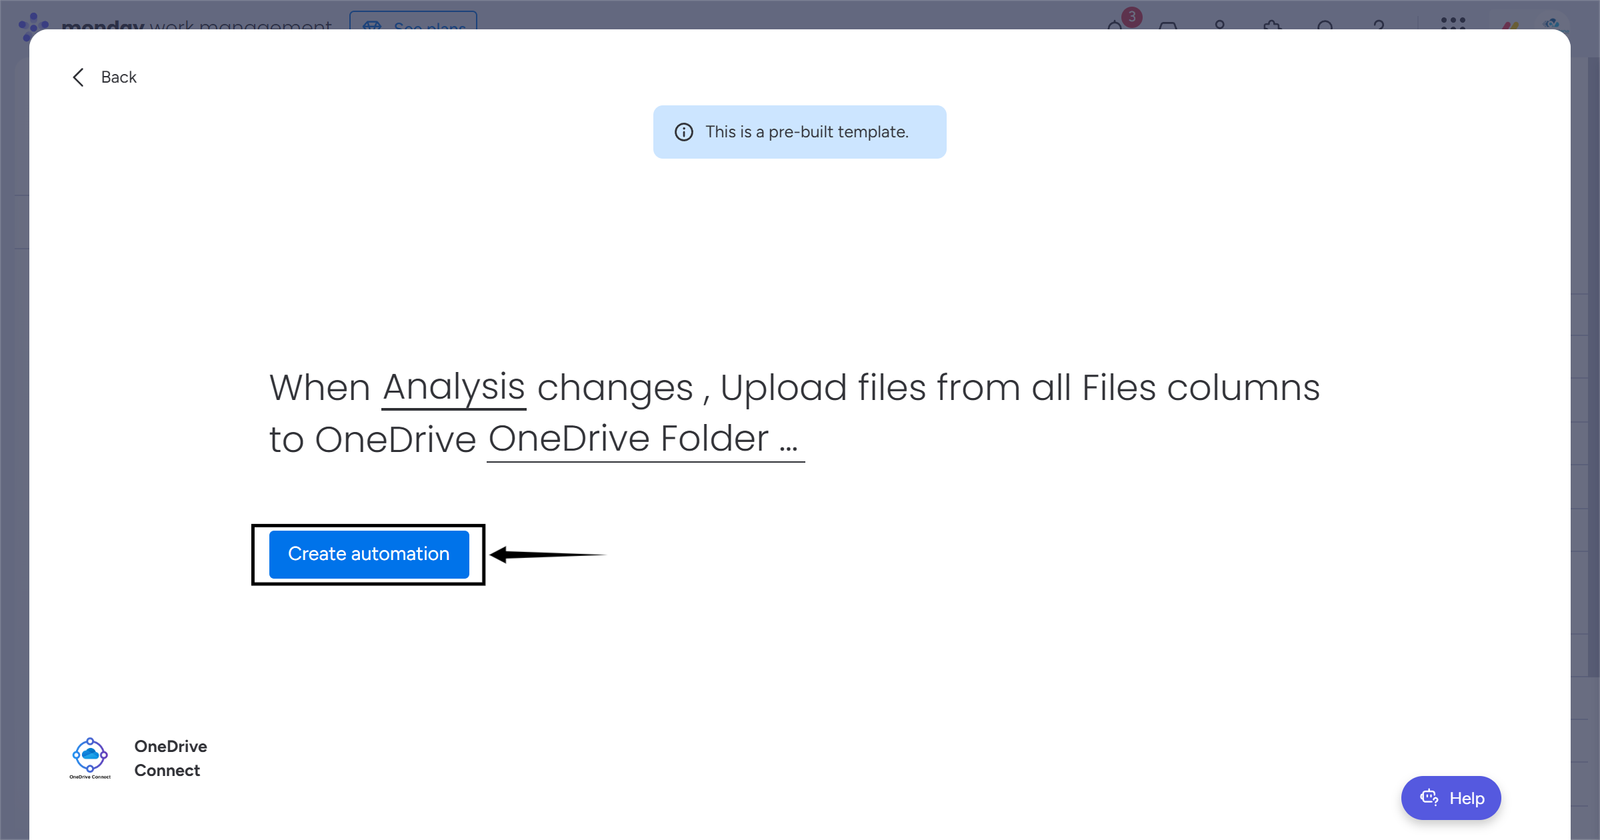
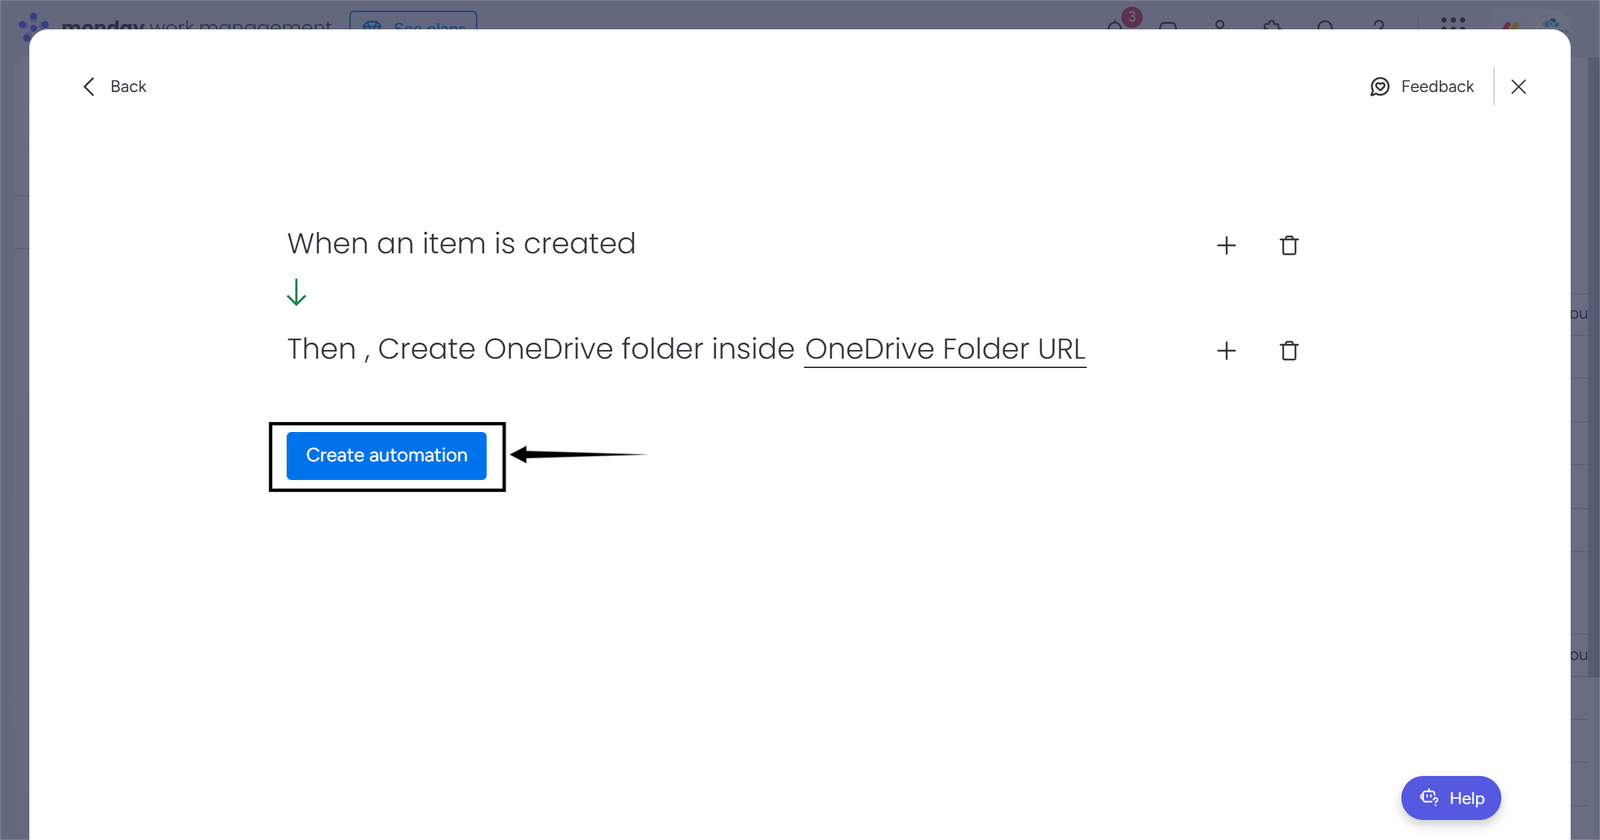
Fill all the fields in the recipe and click on “Create automation”.

Now it’s time to take our newly created automation in action 🚴.
As soon as you change the status, the automation starts running, and in a few seconds, a folder is created(with the name of the item) in the given folder, and the created folder URL is saved in the Link column.


Create a Folder Inside the Link column’s URL
Requirements for this recipe;
- Status column which will act as a trigger to run the automation.
- Link column in the monday.com board. The folder will be created in this column’s folder URL.
Select the integration recipe shown in the image below.
Fill all the fields in the recipe and click on “Create automation”.

Now it’s time to take our newly created automation in action 🚴.
As soon as you change the status, the automation starts running, and in a few seconds, a folder is created(with the name of the sub-item) inside the OneDrive folder URL present in the Link column.


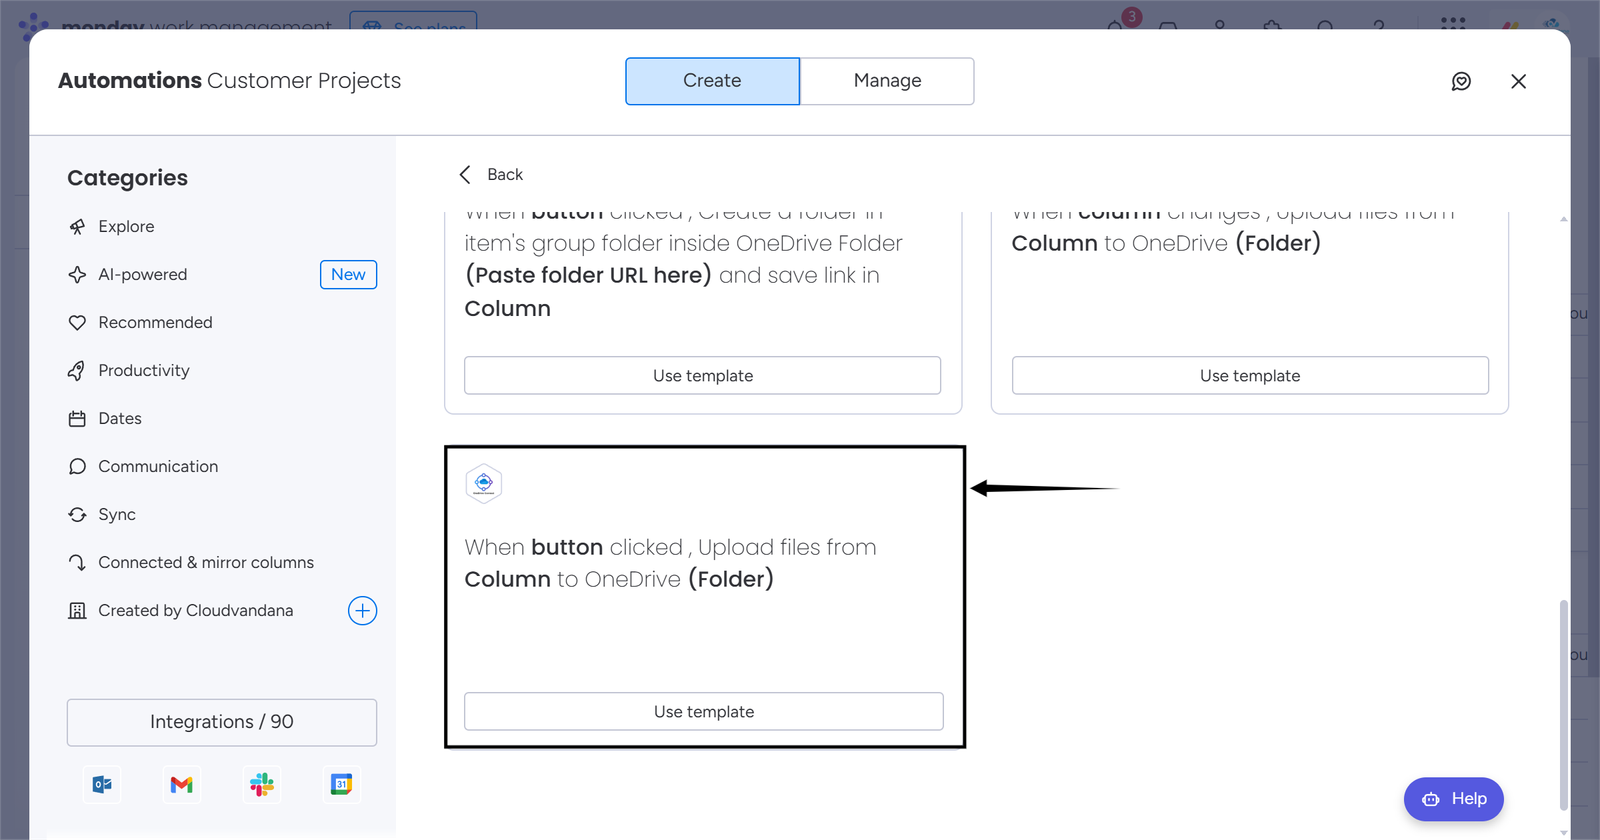
Upload files from the Files column to OneDrive
Requirements for this recipe;
- A button column that will be used as a trigger, which means, when the button is clicked, the automation will run.
- Files column. The files will be uploaded from this column.
- Link column. The OneDrive folder URL from this column is used to save files.
Select the integration recipe shown in the image below.
Fill all the fields in the recipe and click on “Create automation”.

Now it’s time to take our newly created automation in action 🚴.
As soon as you click a button, the automation starts running, and in a few minutes(based on file size), the files will be uploaded to the OneDrive folder URL present in the Link column.


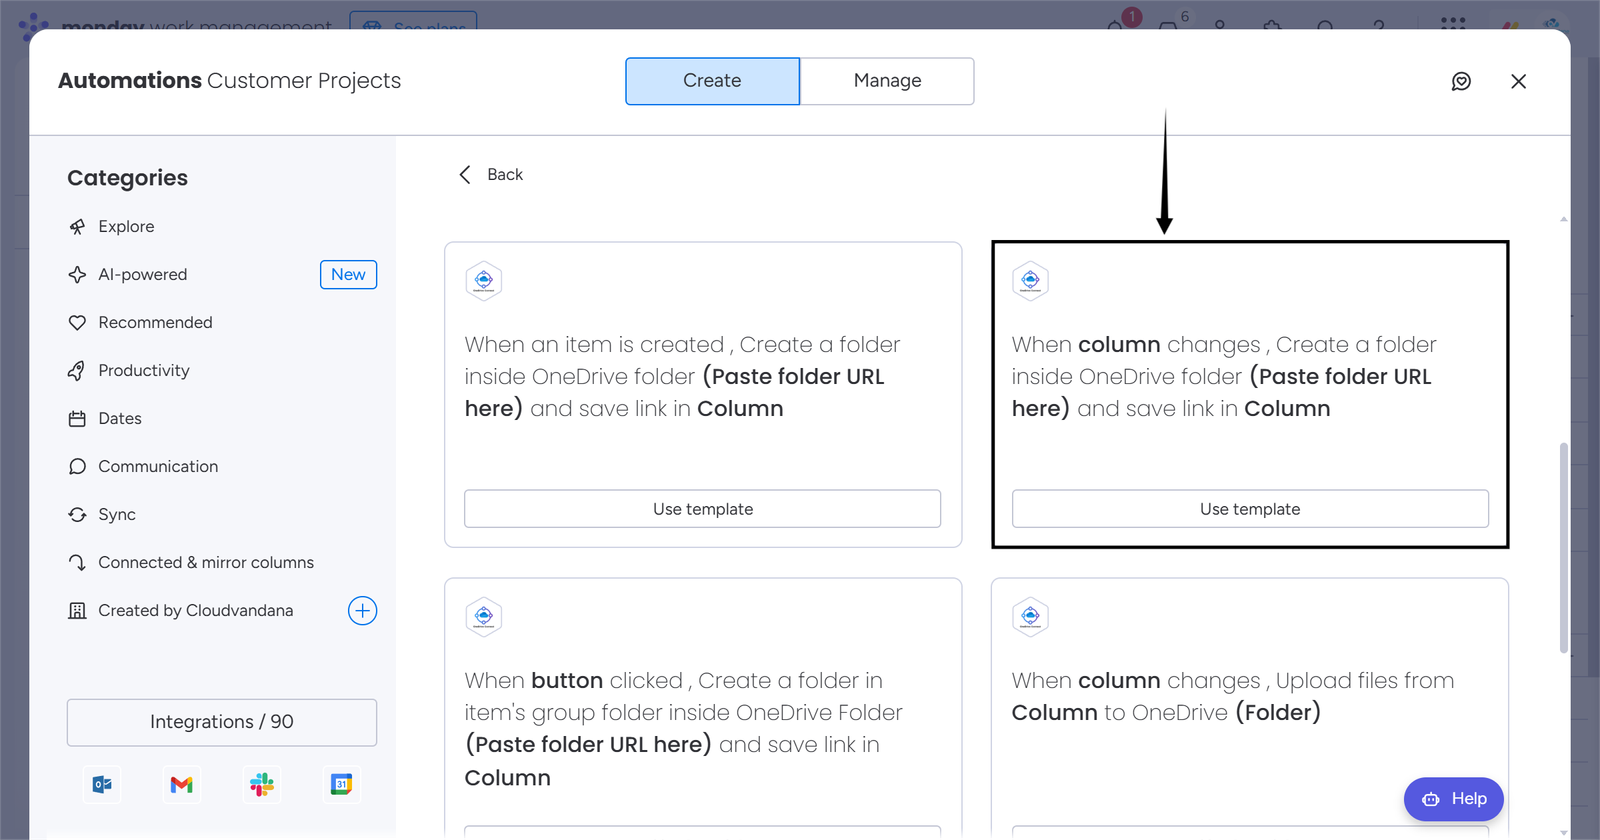
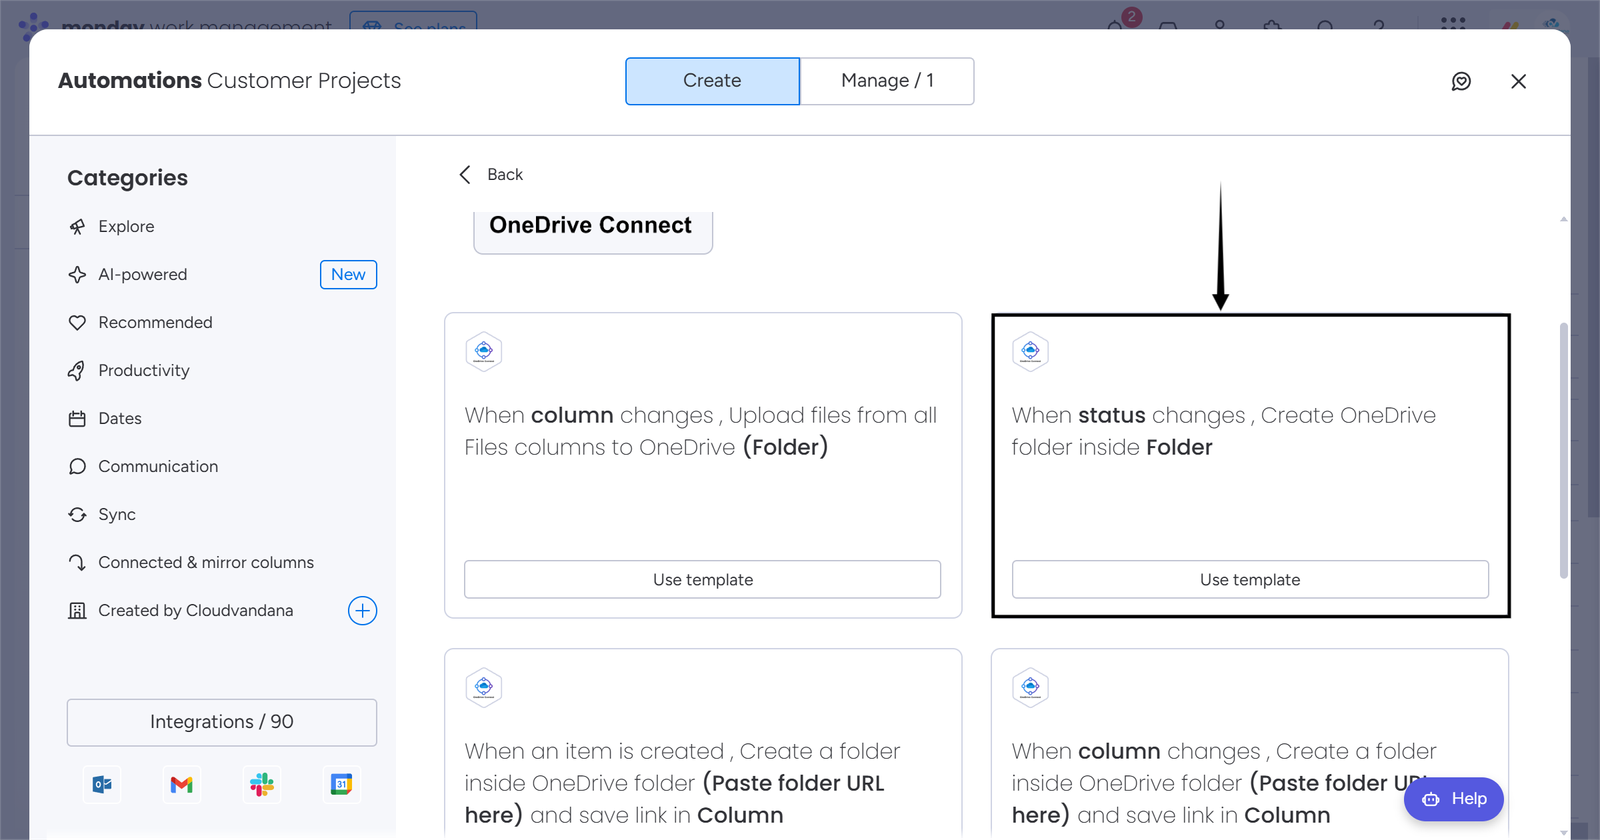
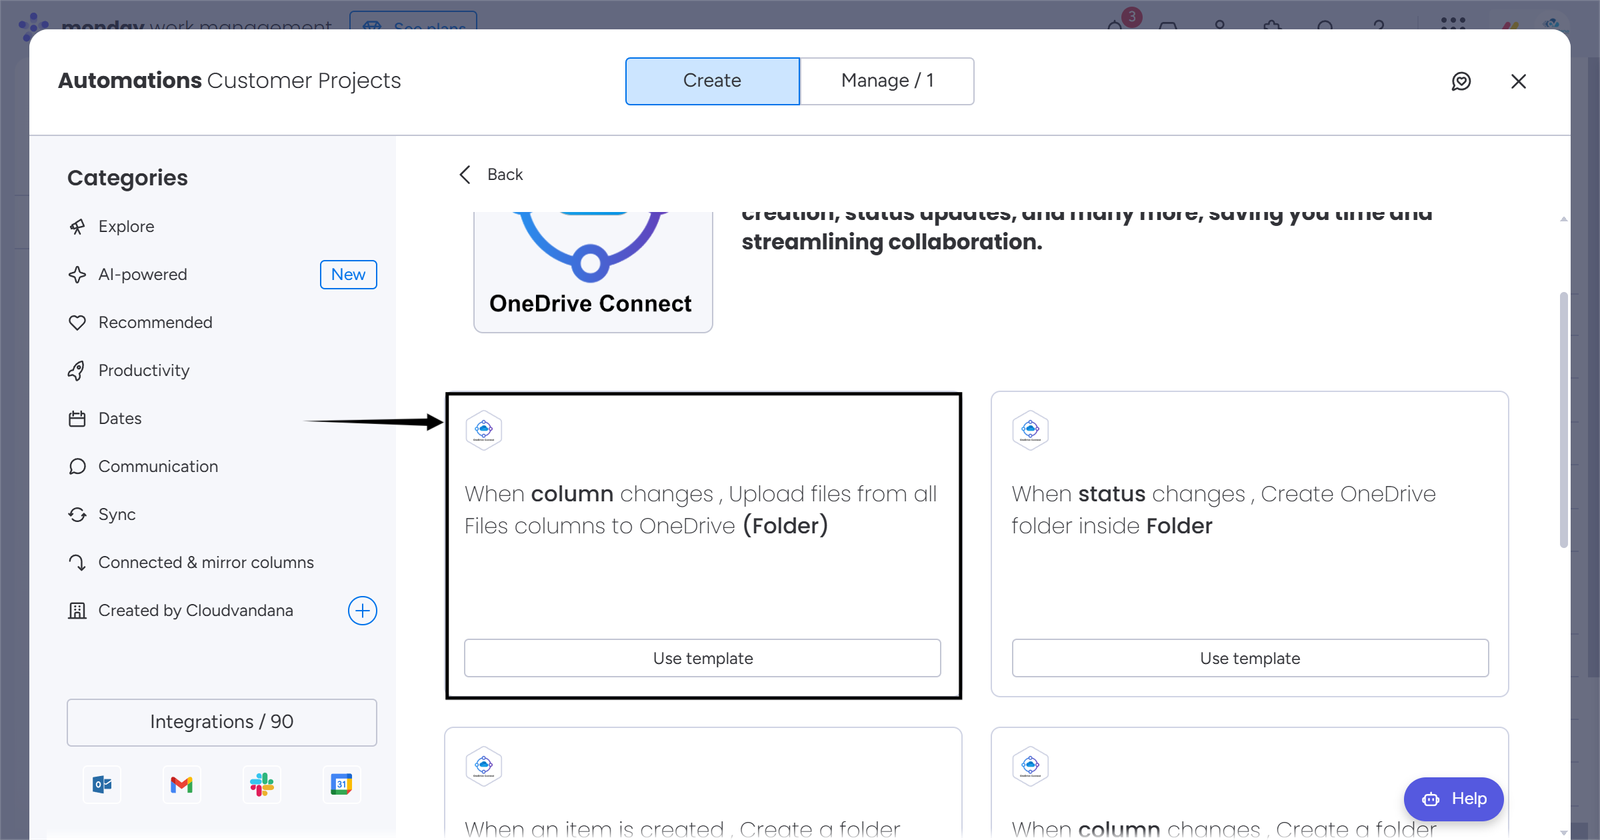
Upload files from all Files column to OneDrive
Requirements for this recipe;
- A monday.com column(Status, Date, etc) that will be used as a trigger, which means, when this column changes, the recipe will run.
- Link column. The OneDrive folder URL from this column is used to save files.
To use this recipe at its full potential it’s recommended to have more than one Files column.
Select the integration recipe shown in the image below.
Fill all the fields in the recipe and click on “Create automation”.
Now it’s time to take our newly created automation in action 🚴.
As soon as you change the column, the automation starts running, and in a few minutes(based on file size), the files will be uploaded to the OneDrive folder URL present in the Link column.


Using OneDrive Connect App Actions
The monday.com actions are very handful. It allows users to use any trigger of their choice, which then starts the action.
For now, there are a total of 5 actions available in the OneDrive Connect app, listed below;
- Create Folder
- Create Folder Inside Another Folder
- Create Folder inside Group Folder
- Upload Column Files
- Upload Item Files
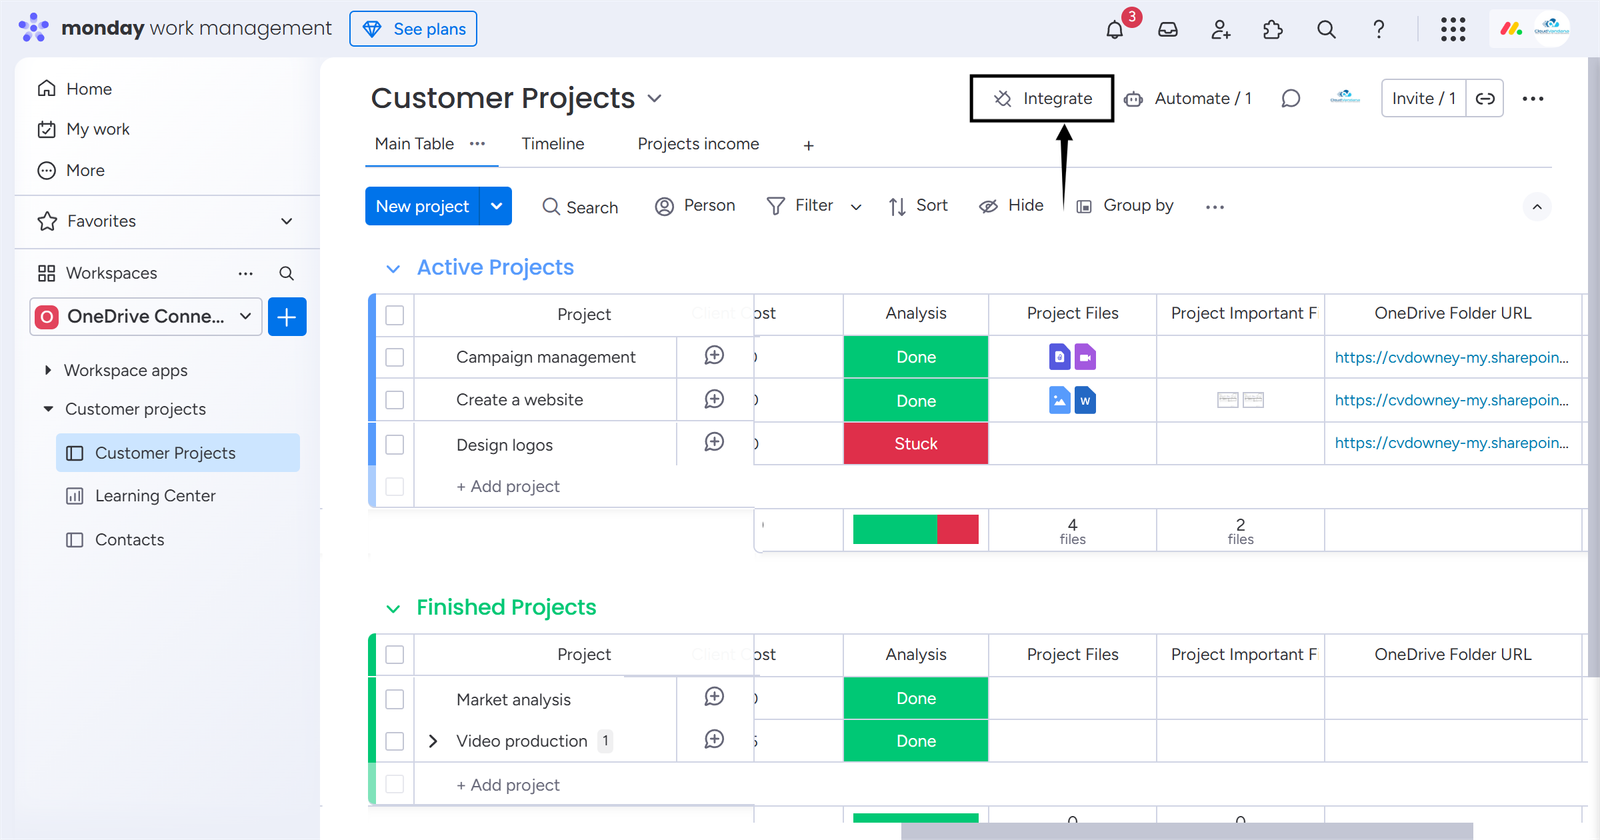
You can use OneDrive Connect actions by simply clicking on the Integrate button at the top > click on first card > select a trigger of your choice > in actions, search for OneDrive Connect and select a OneDrive Connect app action.
Congratulations 🎉 you have successfully used an action to create an automation recipe.
Using OneDrive Connect App Item View Feature
OneDrive Connect also provides an intuitive UI to manage your monday.com files in OneDrive. Using the UI, you can easily;
- Create folders
- Upload files
- Download files
- Delete files
- Preview files
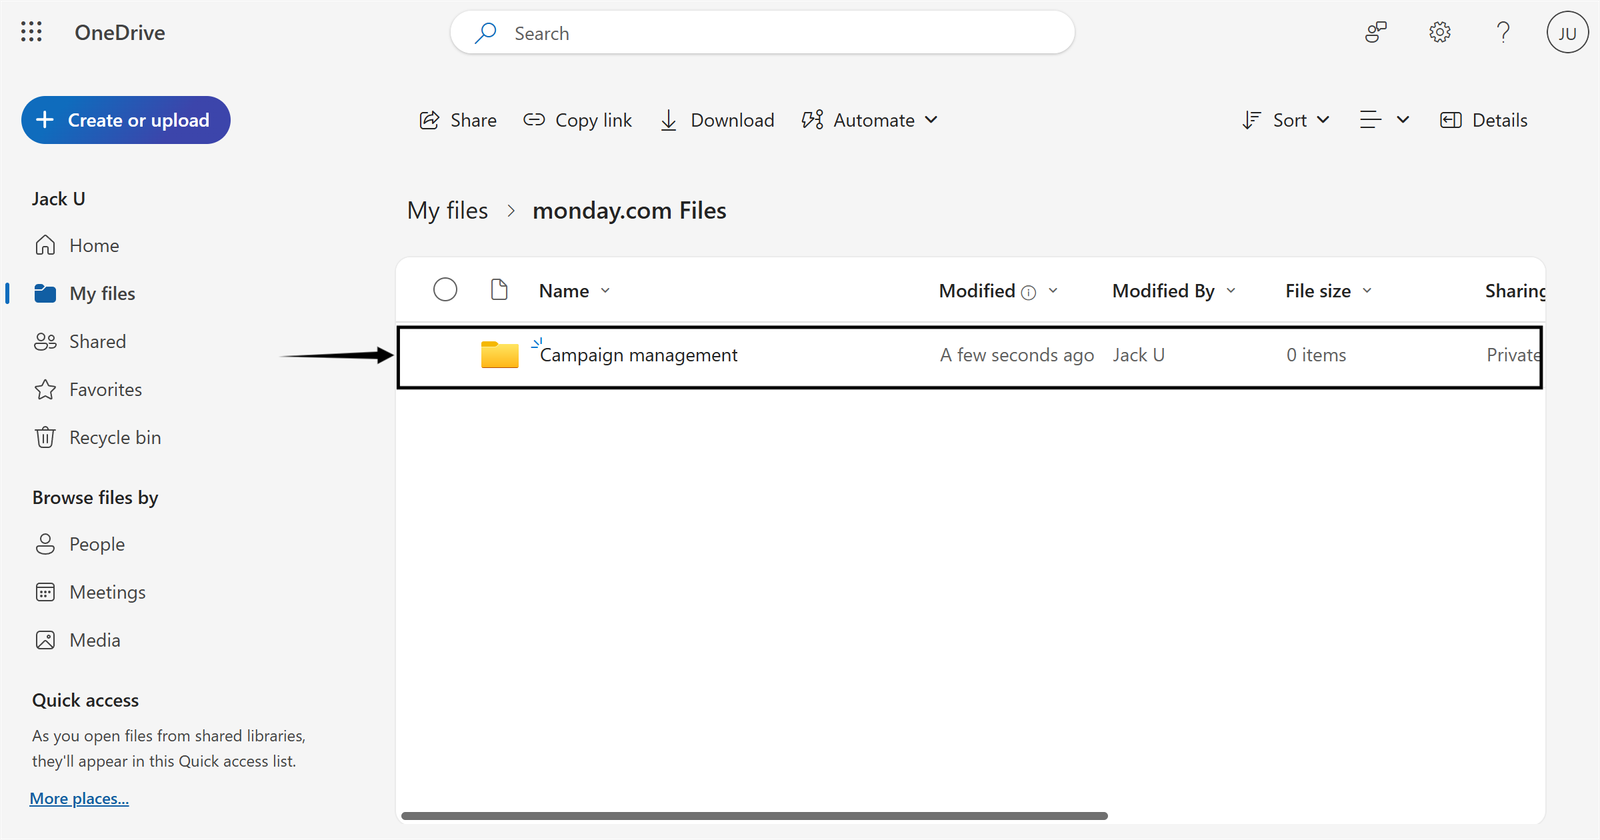
The UI maintains a folder structure; for example, there is a board named “Projects” having an item named “Develop web app”, when you upload files to this item then in the OneDrive first a folder with the name “OneDrive Connect – monday.com files” is created, this folder is the root folder, then inside this folder a folder is created for the current board(“Projects”), inside the board folder item folder(“Develop web app”) is created, and inside the item folder all the files will be uploaded.
We know it may be confusing at first, but it’s super useful once you start using this.
If you want to learn more about the OneDrive Connect app item view feature(UI), please visit this link.