CV Files: Google Drive, OneDrive Connector, and File Management Solution
Application Description
CV Files: Google Drive, OneDrive Connector and File Management Solution
- Our files are scattered between Salesforce and Google Drive accounts.
- We are at the limits of our Salesforce File Storage or will soon run out of it.
- Salesforce Storage is very expensive, and we are looking to utilize Google Drive as an alternative.
- We are using Salesforce and will be working with a lot of documents/files.
If any of this sounds familiar, CV Files is the right solution for you.
It’s an easy-to-install AppExchange App that allows you and your team to upload files inside Salesforce, but they will be uploaded to Google Drive. They will not utilize your expensive Salesforce File Storage.
Trial Period for the app: 15 days for 50 users
After CV Files installation, don’t forget to go through CV Files – My Drive App User Guide
Installation of CV Files
Remember, you can always ask us to get on a call to set your app in Sandbox and Production. Just email to -> apps@cloudvandana.com
Steps to Install:
Note: We recommend installing the app in the sandbox first and then install in production if everything looks fine.
Install CV Files app in Production OR Sandbox Salesforce Org.
Please enter the login details of your Salesforce Administrator account if you are presented with the login screen.
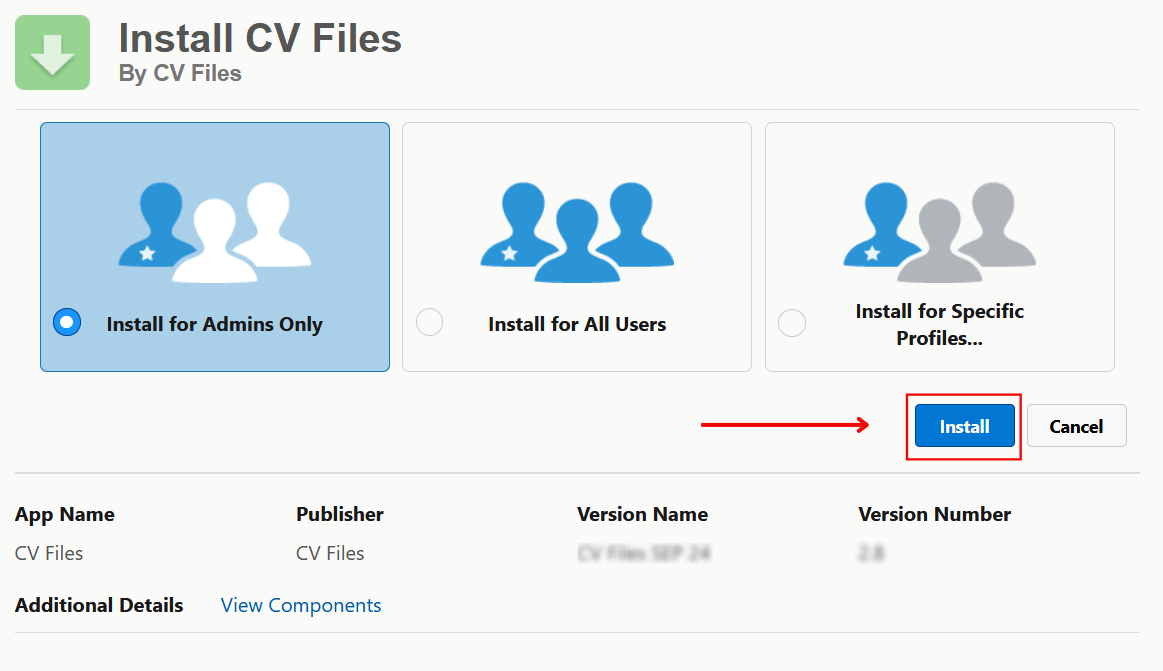
Once you are presented with the installation screen, you must select which users should be granted access to the app, including all its components.
We recommend you choose “Install for Admins Only”, which will ensure only Administrators have access to the app for now. And then, you may give the appropriate permissions by assigning the Right Permission Sets to individual users.
Click the checkbox as shown to Acknowledge your installation, and then click “Install”
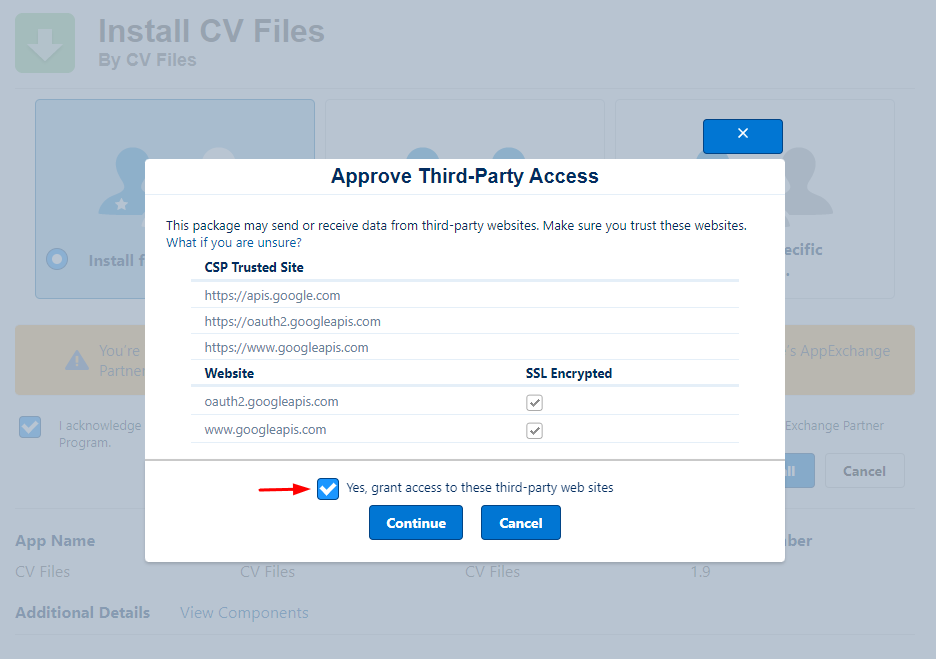
Check the “Yes, grant access to these third-party websites”
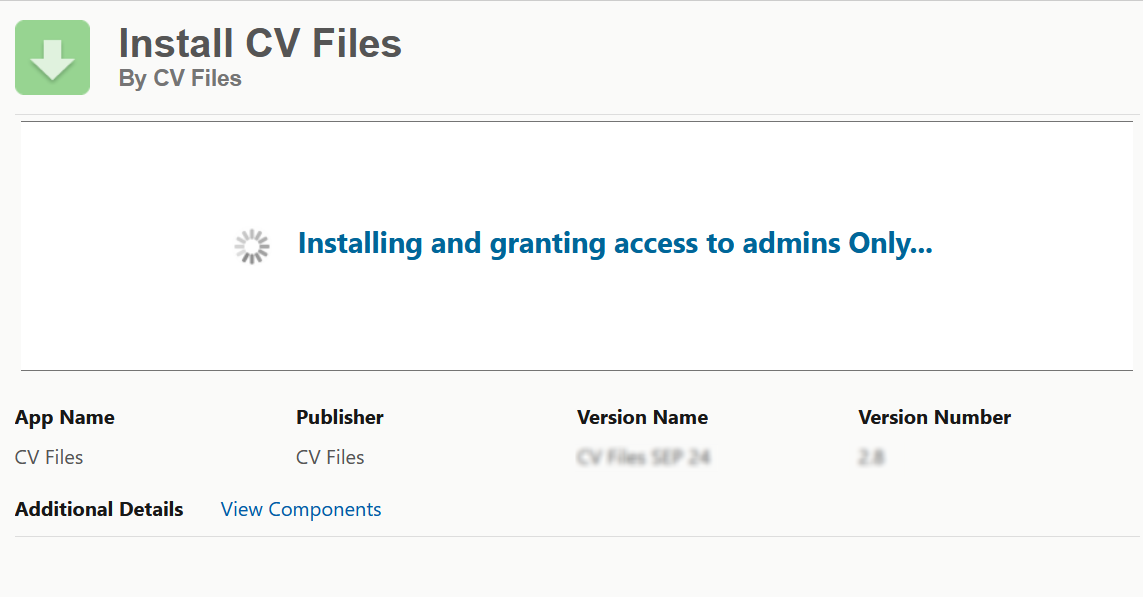
Once the installation is complete, click the Done button to return to your Salesforce org. You may see a message stating that the installation is taking a longer than expected time to complete. In this case, you will receive an email once the installation finishes.
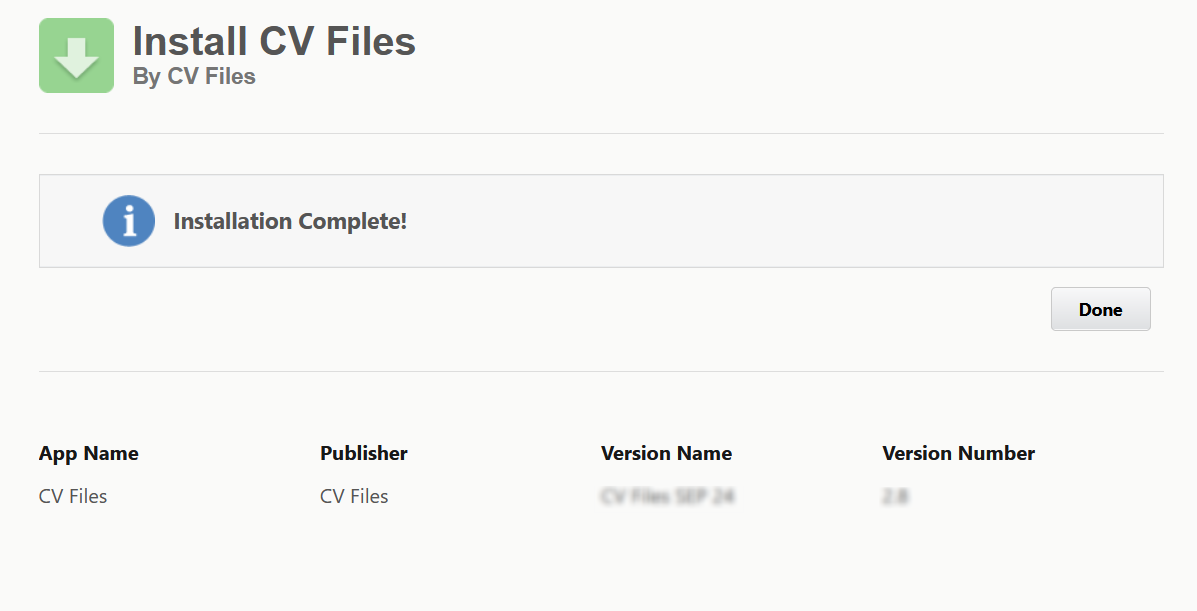
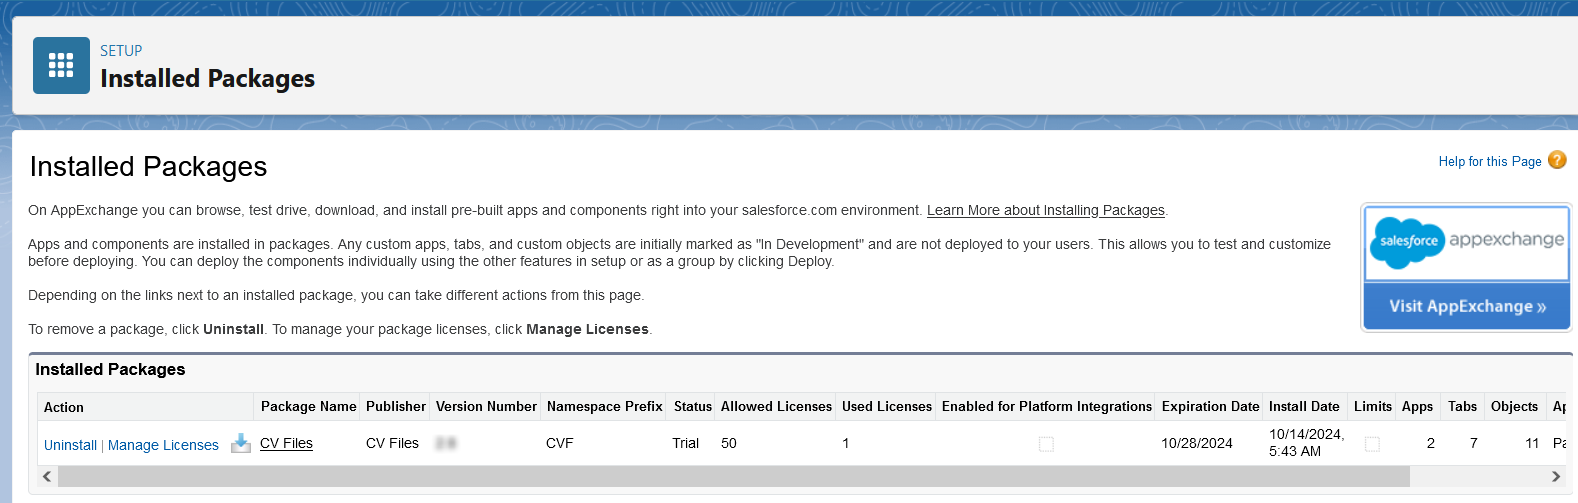
Now CV Files is Installed in your System.
You can verify the same in the installed packages. From Setup, Search “Installed Packages” and Click “Installed Packages” to view
Configuration Steps
My Domain is a Salesforce feature that lets you highlight your brand, makes your org more secure, and allows you to take advantage of some new features of Salesforce like Lightning Pages, the Lightning App Builder, and, what we are interested in most, Lightning Web Components.
The easiest way to see if you have My Domains enabled is to log into Salesforce and look at the address bar. If you see something like https://yourcompany.my.salesforce.com, you are all set and can skip to the next steps.
However, if you see something like https://na31.salesforce.com, you do not currently have My Domain enabled and need to take a few extra steps first.
For more details, watch a demo of My Domain or review the My Domain module on Trailhead.
Assign the right Permission Sets to the Users
The following CV Files Permission Sets are to be assigned to users:
CV Files Admin
CV Files User
CV Files Community User
You can verify the same in the Permission Sets. From Setup, Search “Permission Sets”
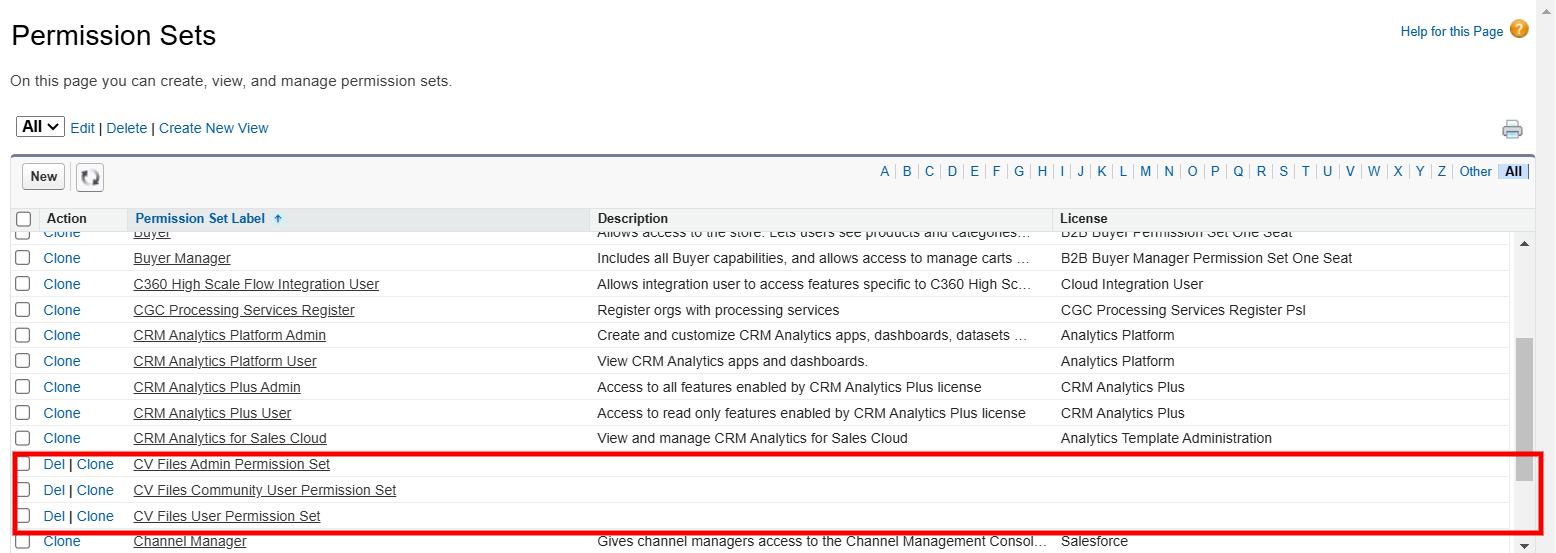
Assigning “CV Files Admin Permission Set” allows the user to be able to access the setup component, which enables you to link Salesforce with Google Drive.
Assigning “CV Files User Permission Set” allows the user to see the component which has been configured by the admin and will be able to use all the functionalities available in the component.
Assigning “CV Files Community User Permission Set” allows the user to see the component in the experience cloud sites which has been configured by the admin and will be able to use all the functionalities available in the component.
Assign Licenses to Users
In CV Files, the admin needs to assign the permission set and the licenses to the users so they can avail of all the functionality. By only assigning either the permission set or the license to any user, the user will experience an error.
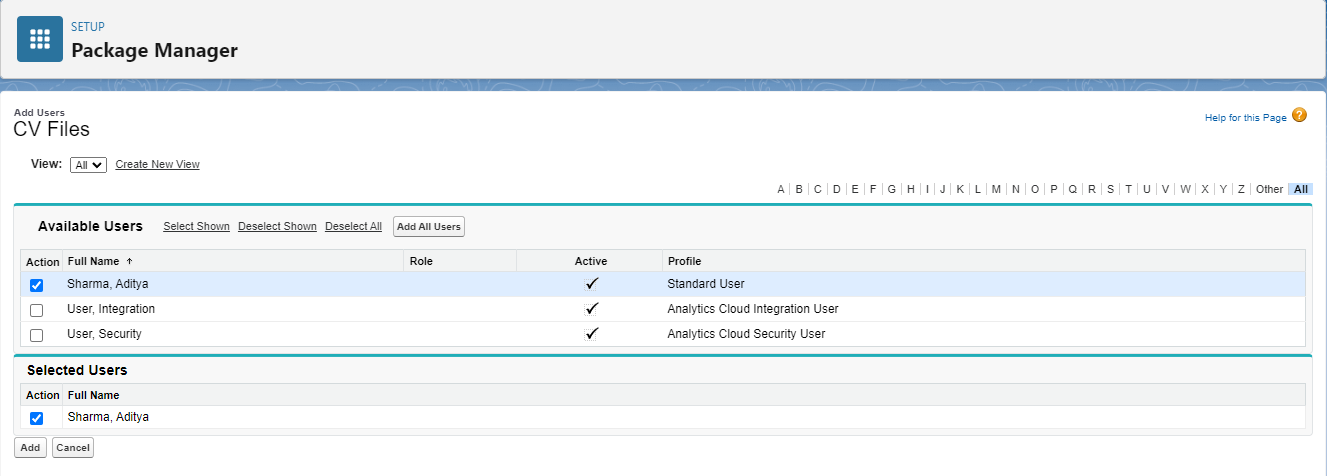
From Setup, Search “Installed Packages” and follow the below steps,
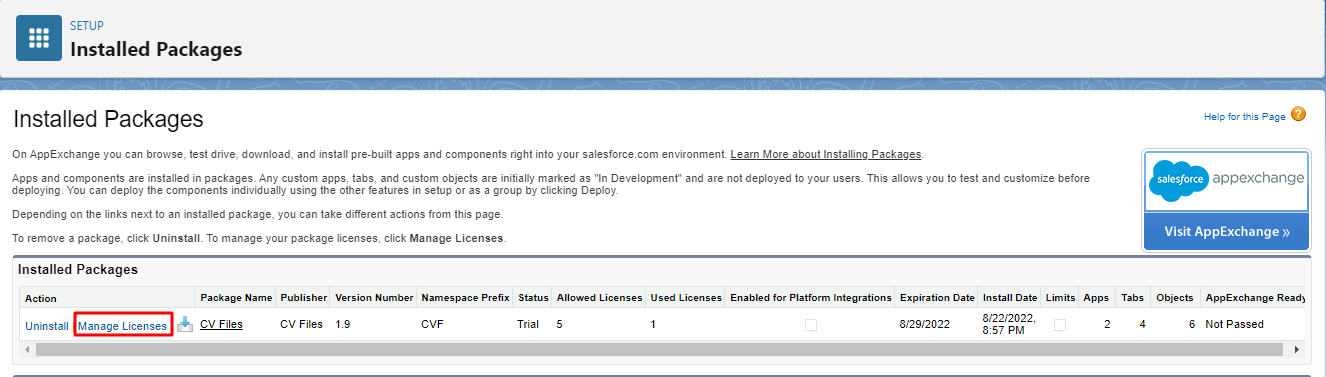

Choose the users who need to have access to the app.
Note: Both Admins and Non-Admin Users need to have a license.
Google Drive Setup
Add Custom Component to Lightning Record Pages
CV Files component needs to be added to the lightning record pages of an object to create a new folder on the connected Drive.
Steps to Configure:
1. Open any Record in Salesforce. We will take an example of Opportunity here.
2. From the detail page of the opportunity, Click the gear icon at the top right corner, and select Edit Page to open the Lightning App Builder.
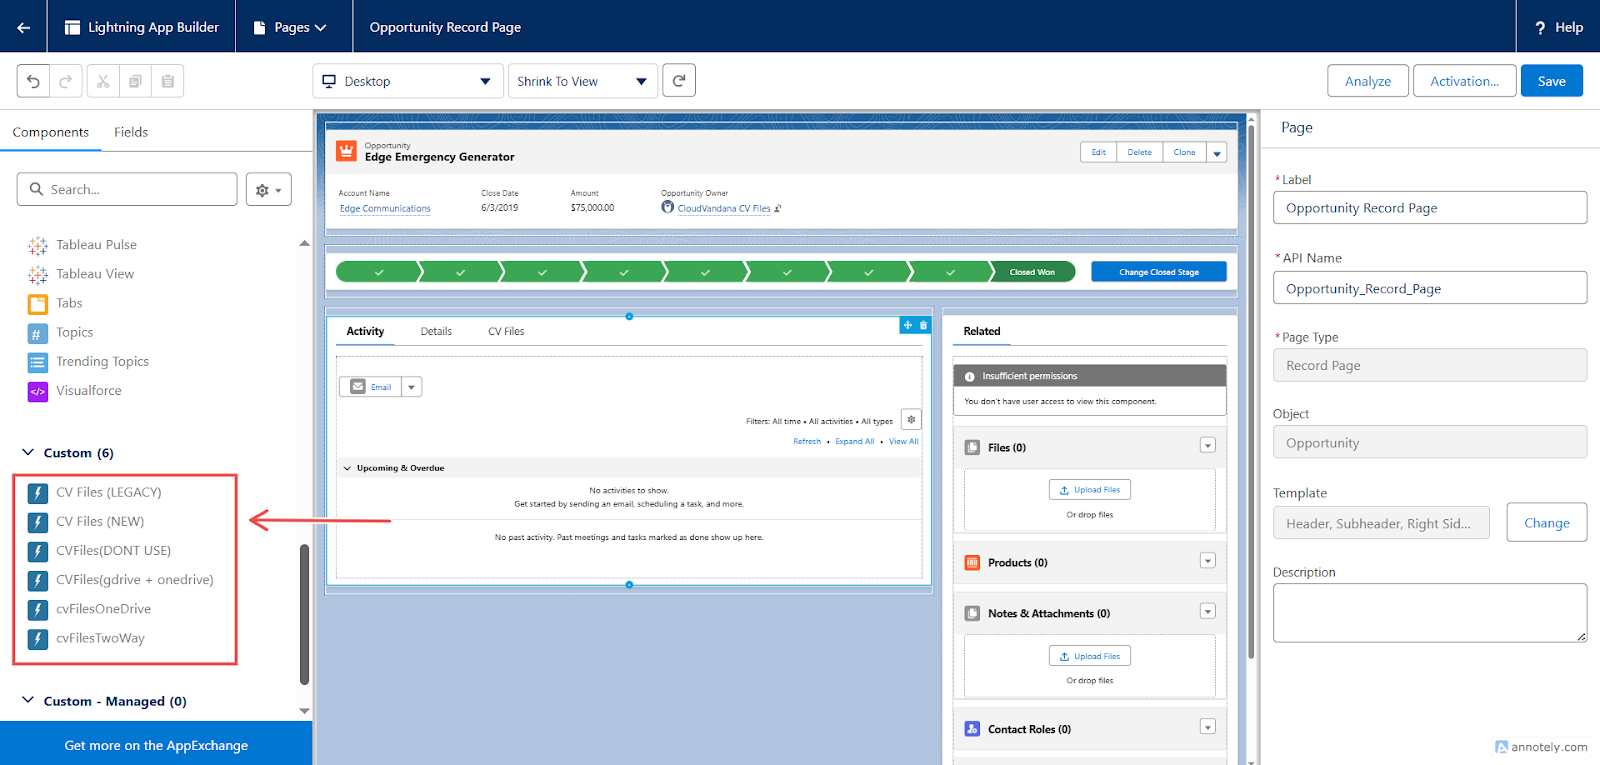
3. Scroll down in the component section to find the custom components named cvFiles (LEGACY), CVFiles(NEW), cvFilesOneDrive, cvFiles(gdrive+onedrive), and cvFiles(DONT USE).
Do not use cvFiles (DONT USE) as it is a legacy component.
Select CVFiles (NEW) and drag and drop the custom component to the right side of the page.
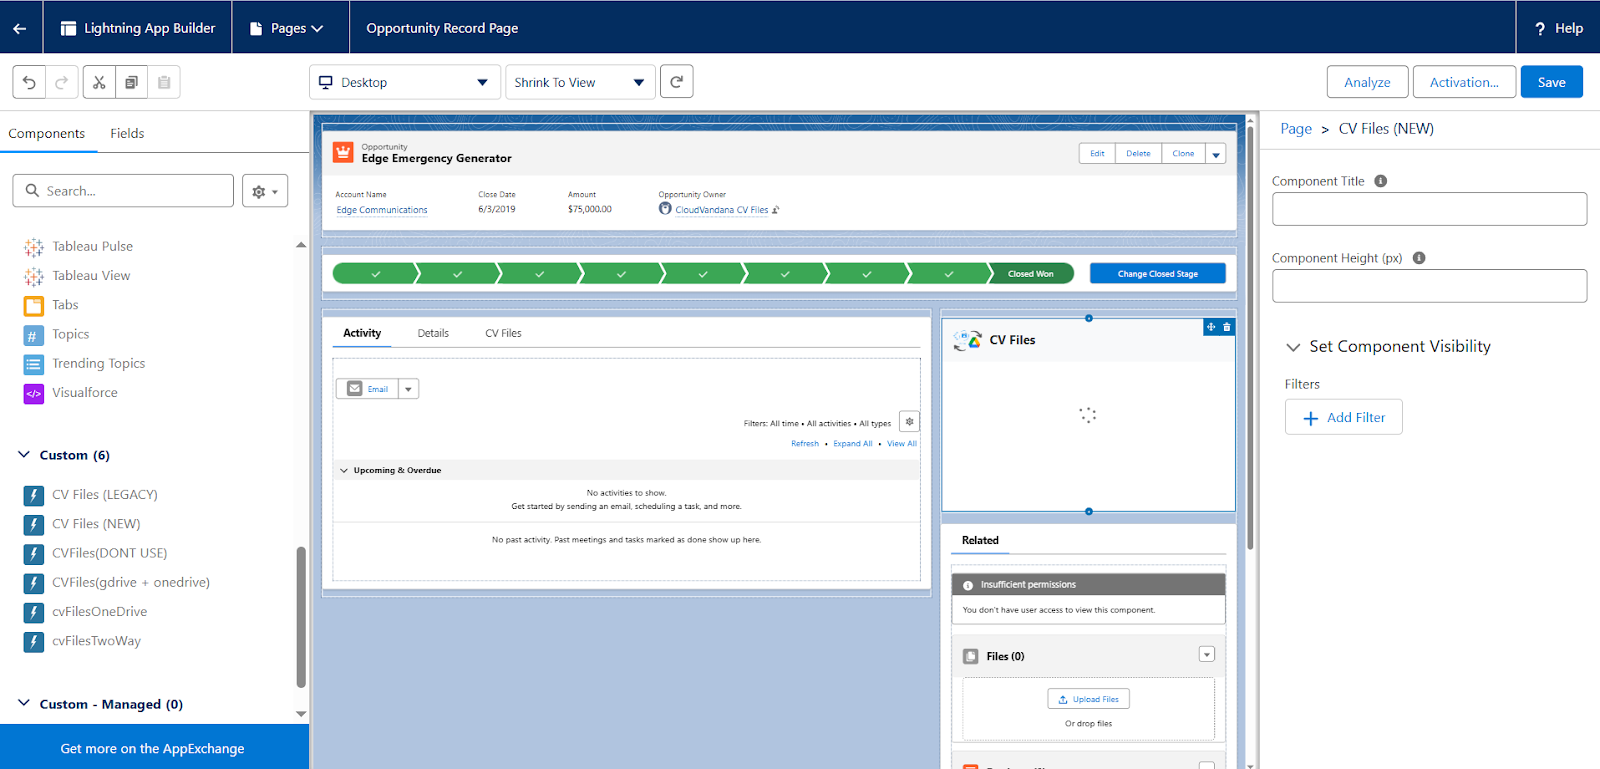
4. Set the component title and component height according to your preference. The default values are CV Files and 300.
5. Once the page is configured. Click on the Save button on the top right. And go to any opportunity record.
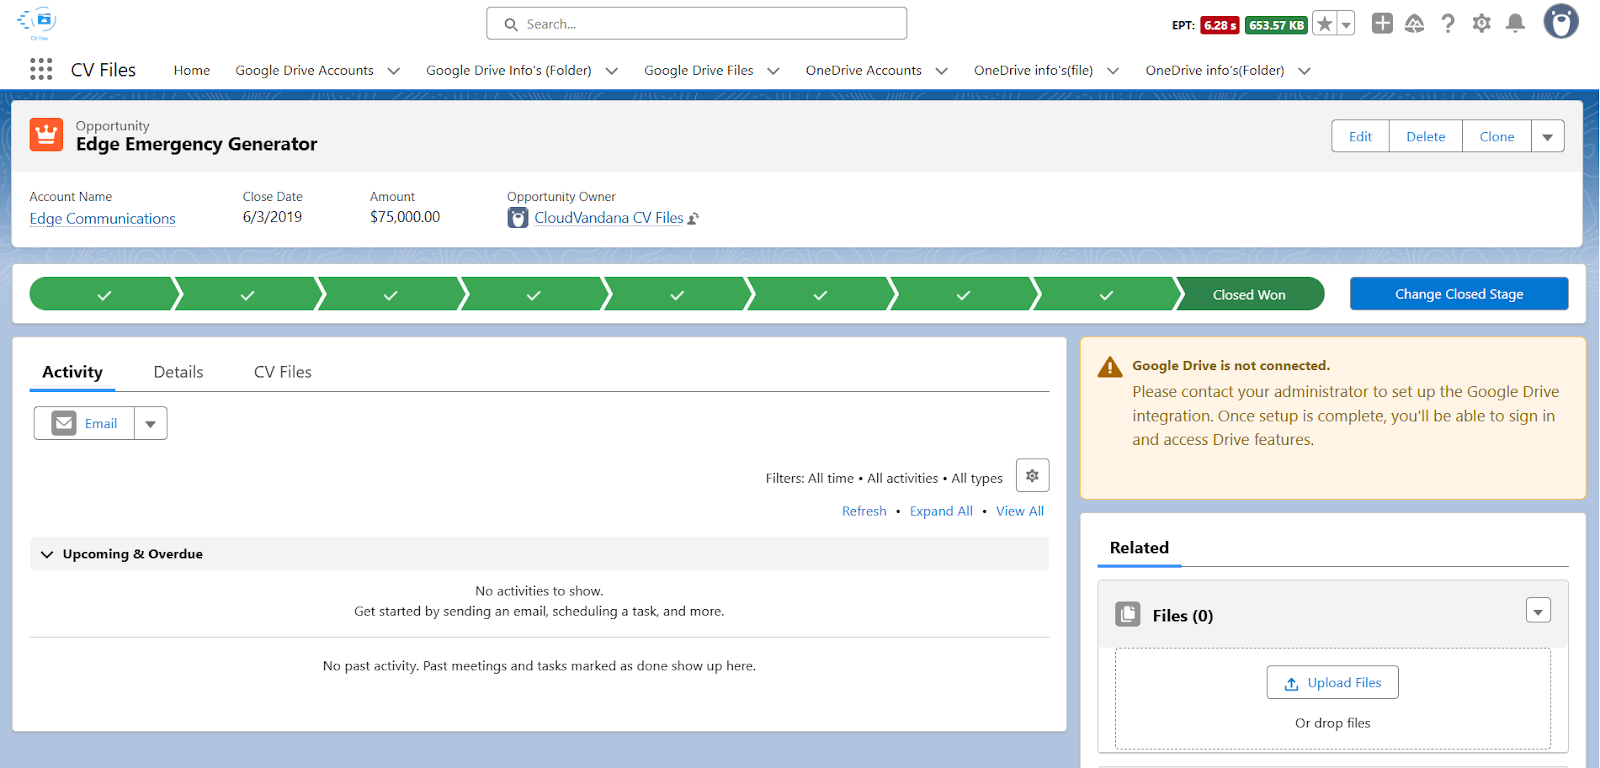
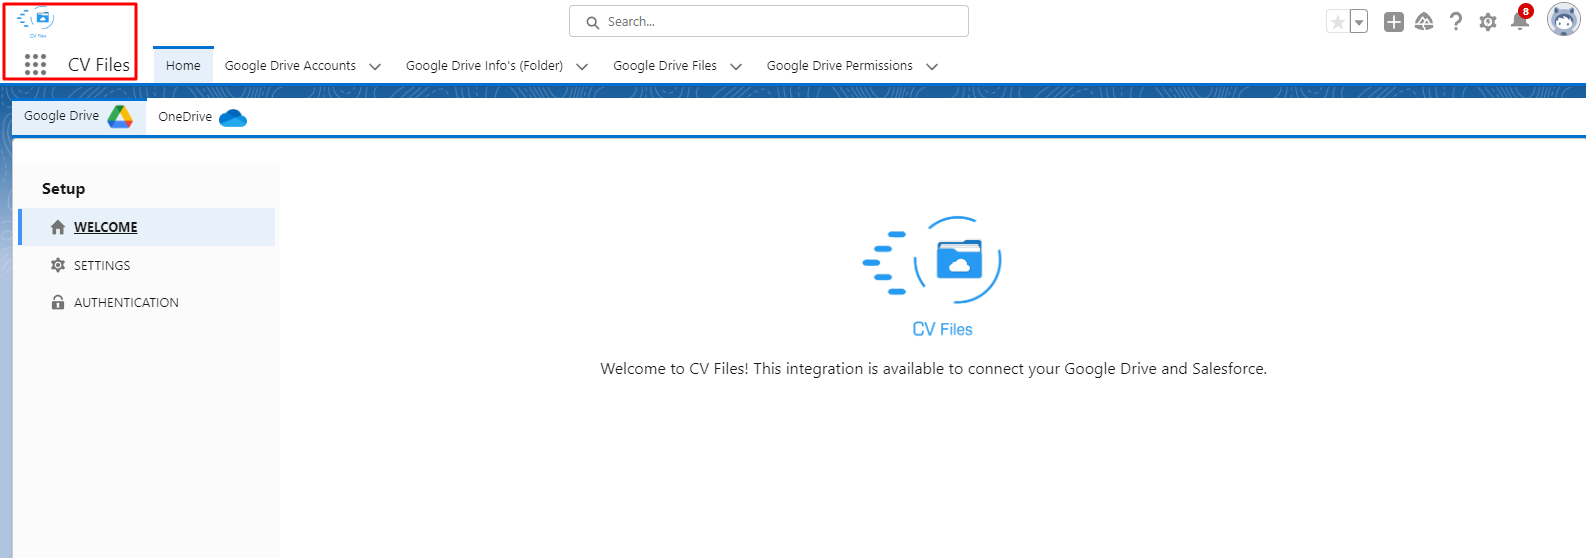
6. Now, go to the App Launcher & select the CV Files app. After opening the app, you will be redirected to the Home page.
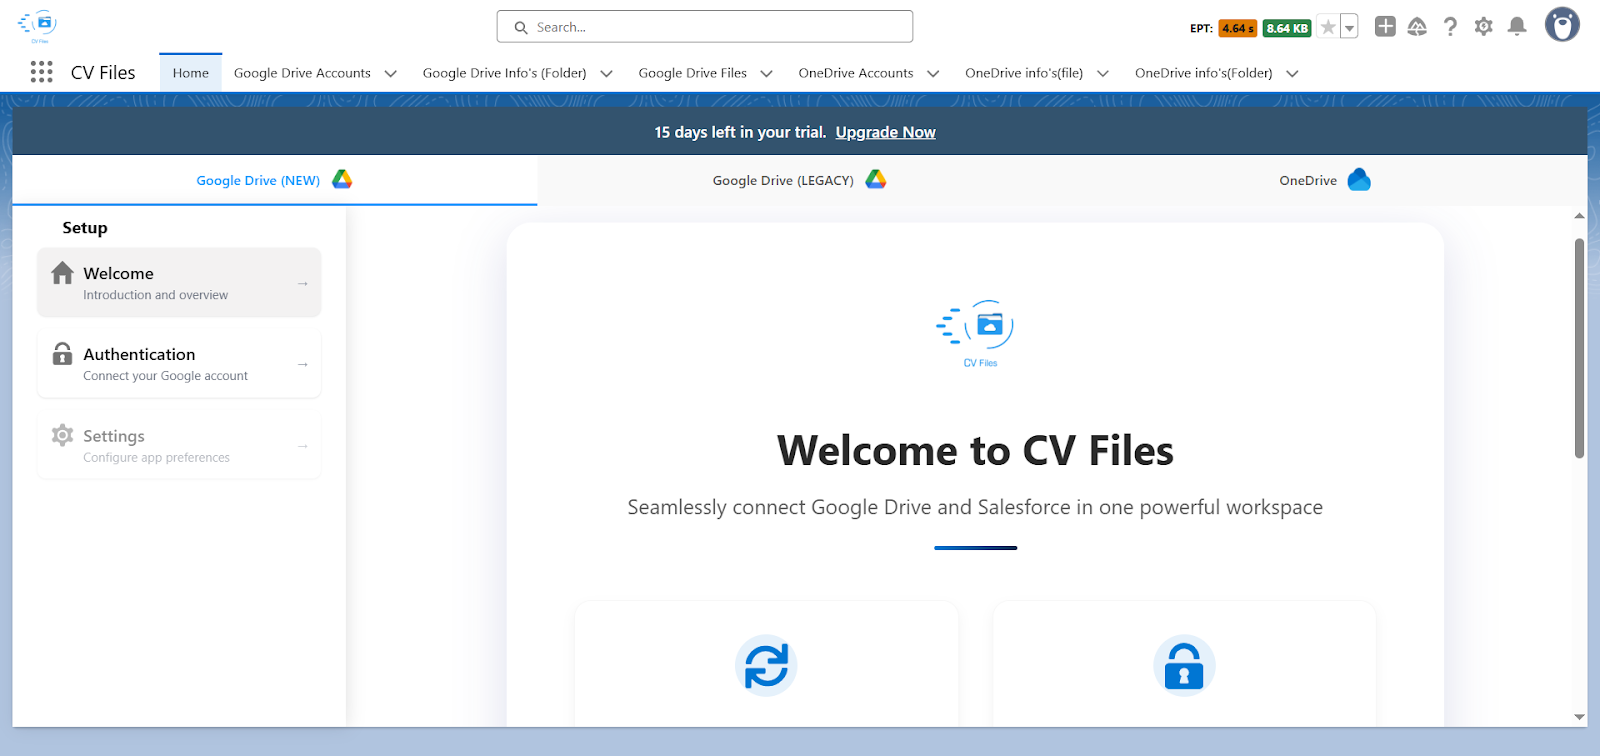
7. On the Setup Page, you will see three tabs to configure either on your Google Drive (New), Google Drive (Legacy), or OneDrive account. Select Google Drive (New) to configure.
8. To connect your Google Drive with your Salesforce org, please log in with your Google Account.
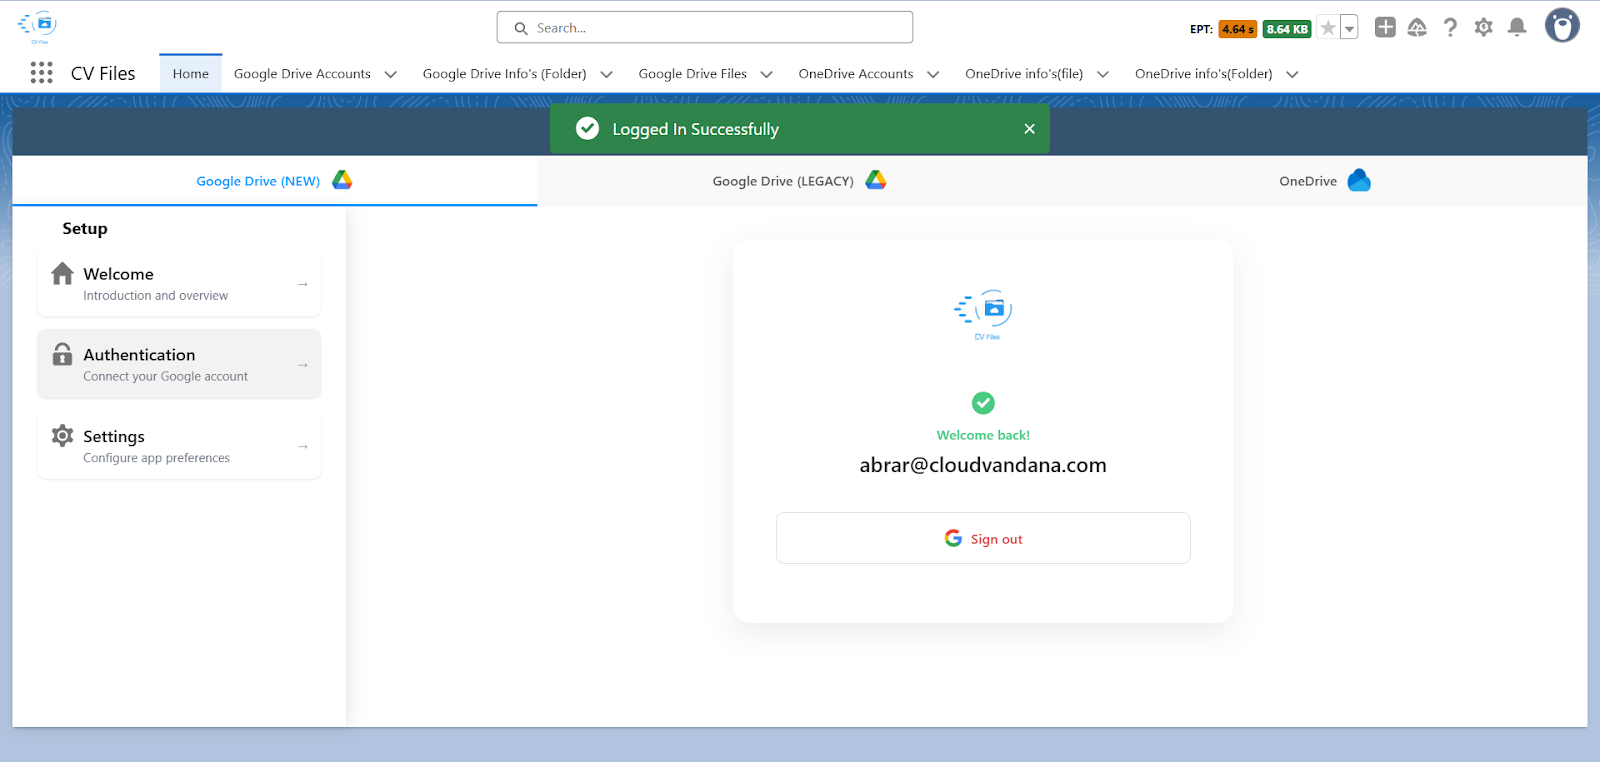
9. Once you finish the login, you will get a confirmation message, and your Google Drive is connected to the Salesforce account.

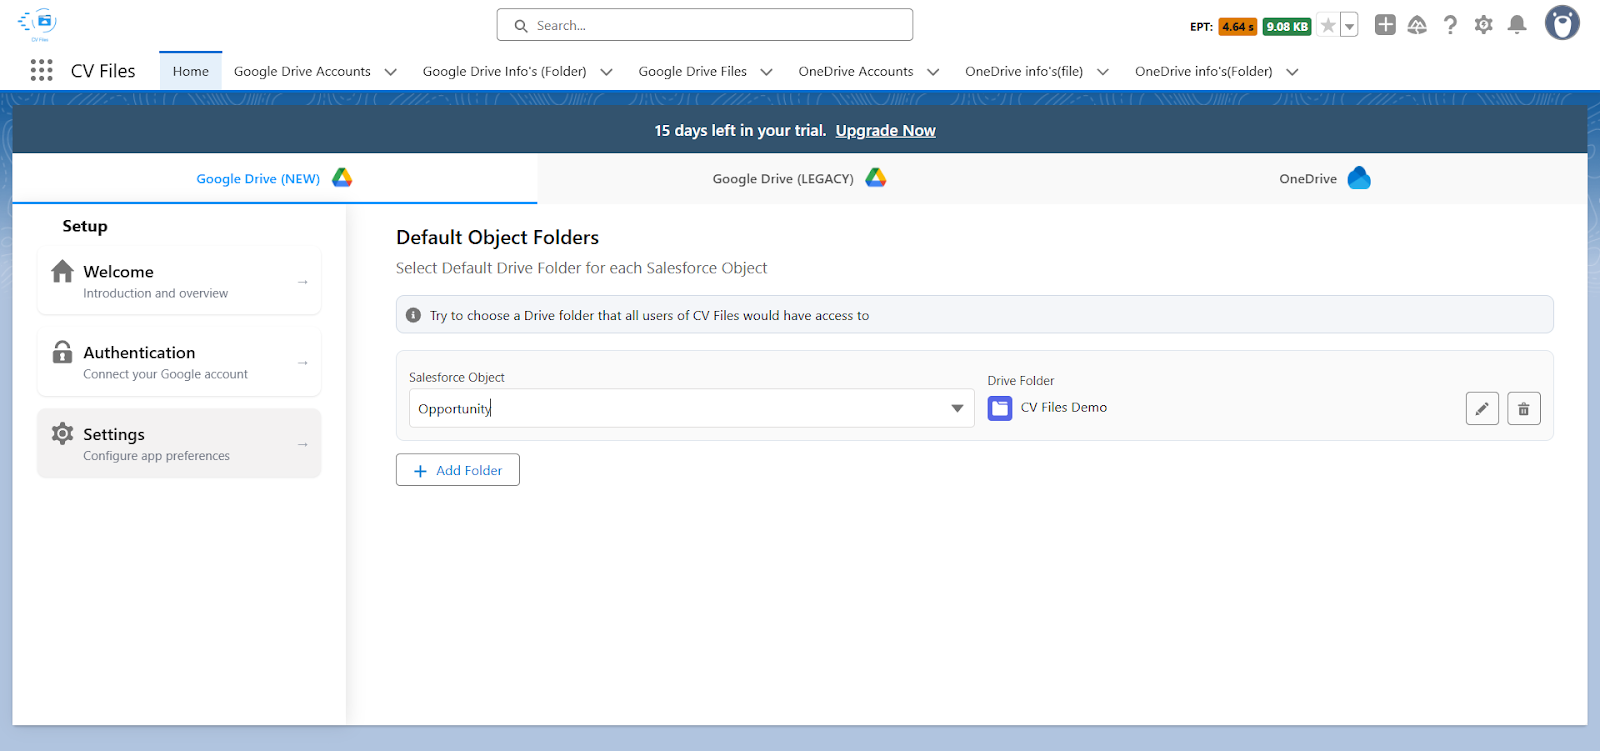
10. Click on the Settings tab, then click the “Add Folder” button to begin configuring a default folder for a Salesforce object.
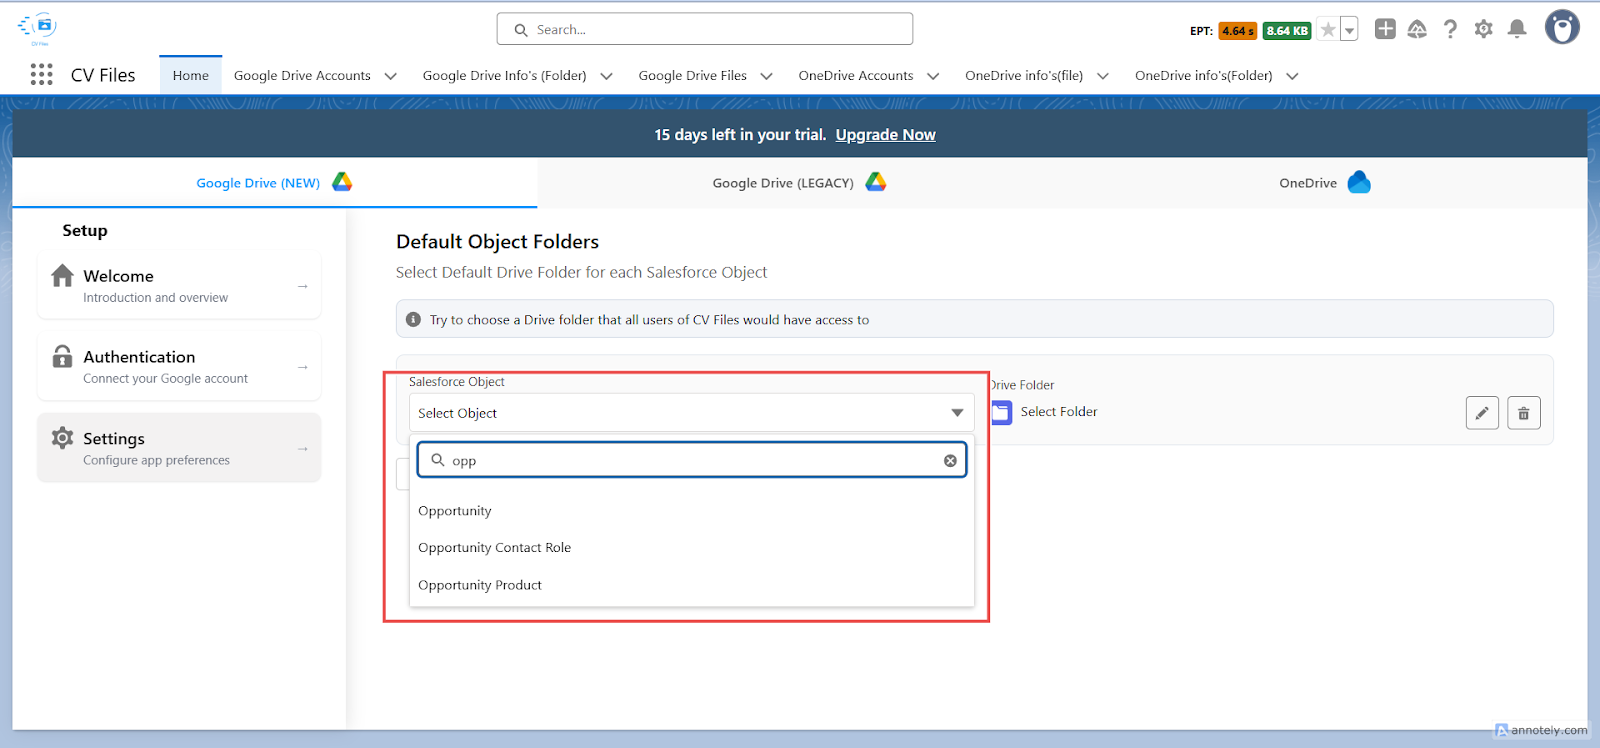
11. Select the Salesforce object (e.g., Account, Opportunity, Case) from the drop-down you want to configure a default folder. Example: Let’s take “Opportunity” as an example.
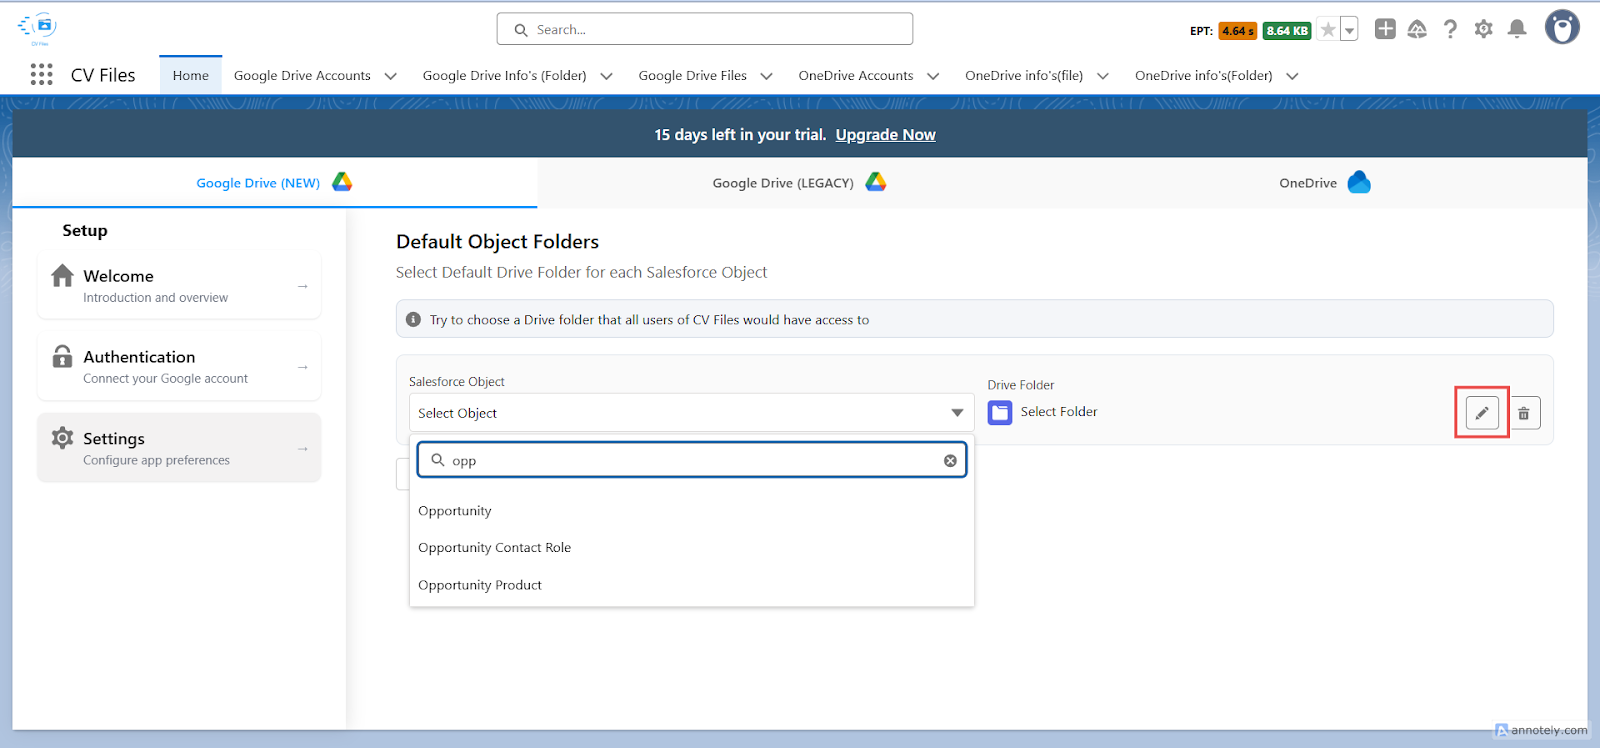
12. Click the pencil icon next to “Select Folder” to choose a default folder for the selected object.
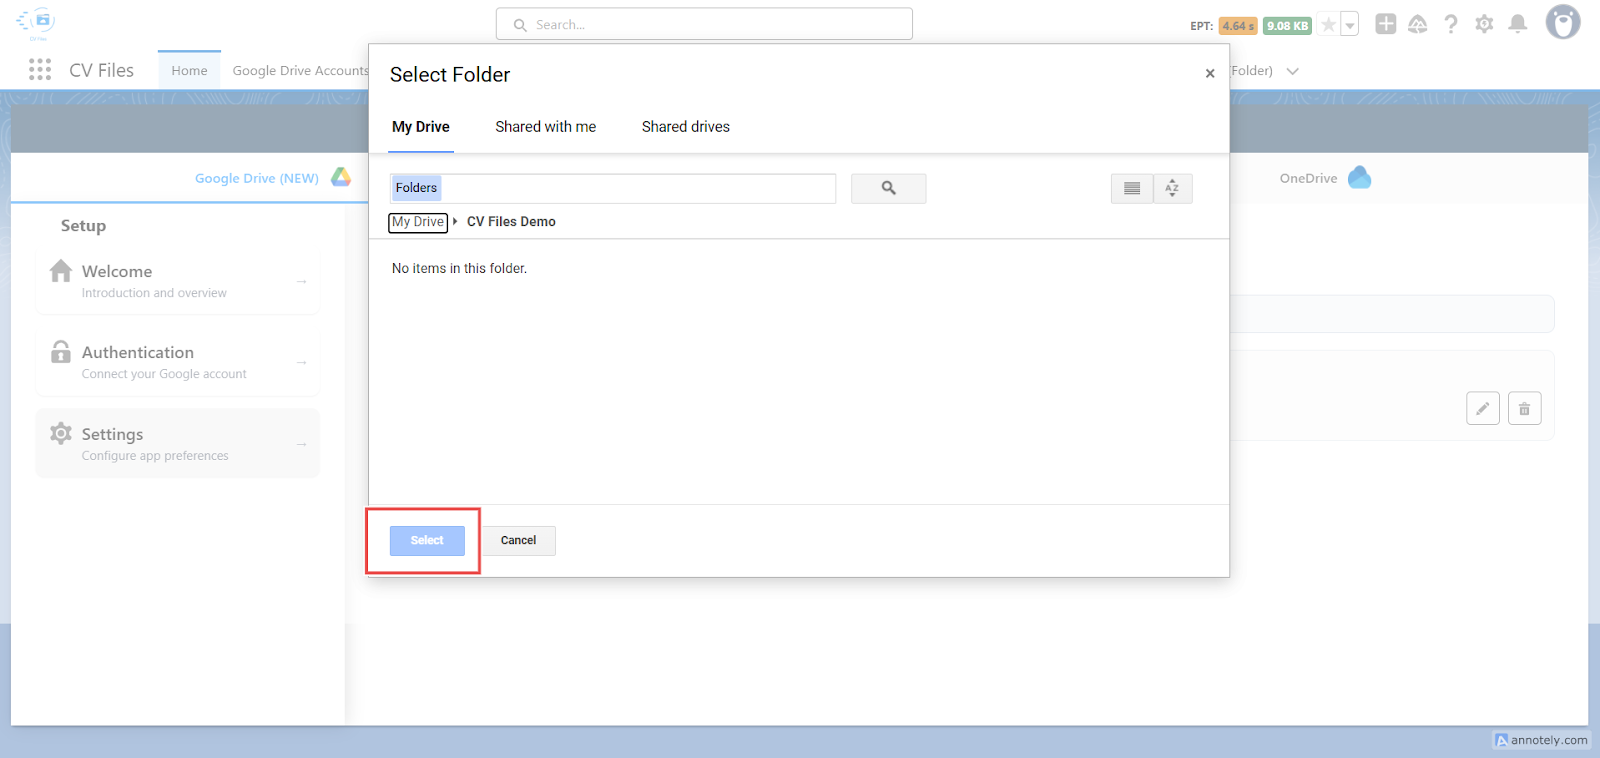
13. A pop-up window will open. Browse your Google Drive, select the desired folder (e.g., CV Files Demo), and click “Select” to confirm.
You’re all set! The selected folder is now mapped as the default for the chosen Salesforce object. Want to assign folders for other objects? Simply repeat steps 10 to 13 for each additional object type.
OneDrive Setup
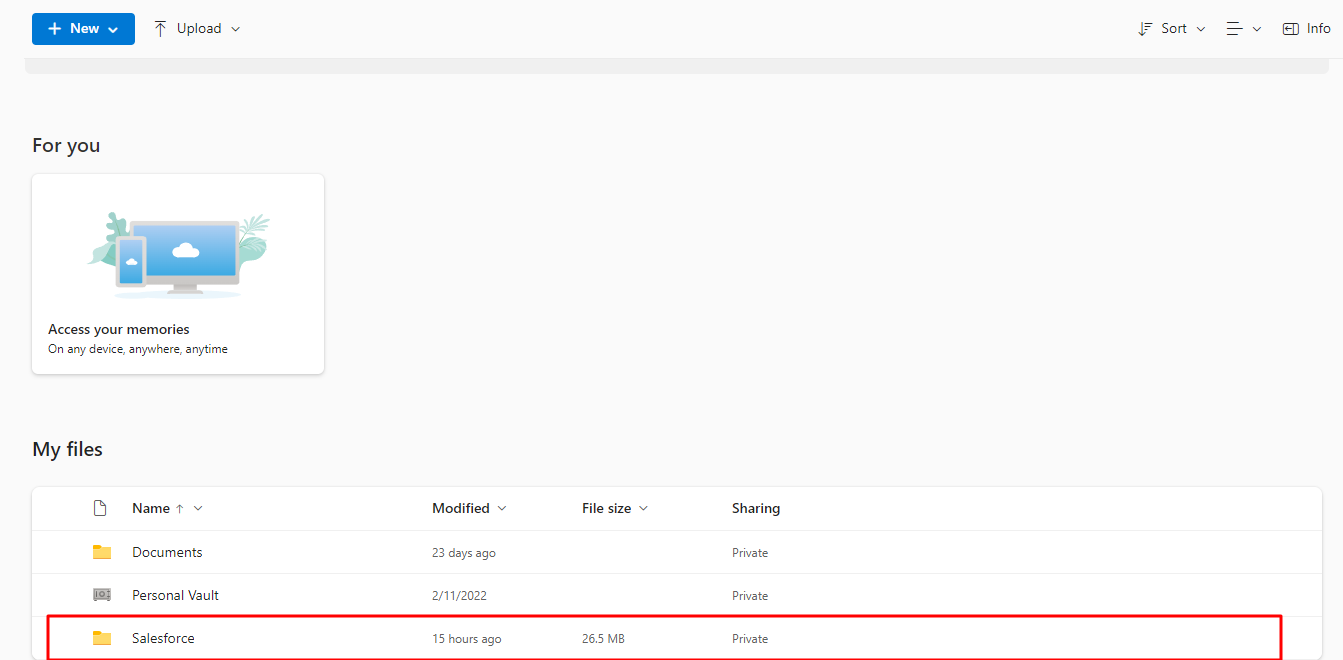
When your Salesforce account is connected with Google Drive, a folder will be created in your one drive with the name “Salesforce”. This folder is the root of all the Salesforce Files being stored in One Drive.
Add Custom Component to Lightning Record Pages
CV Files component needs to be added to the lightning record pages of an object to create a new folder on the connected Drive.
Steps to Configure:
1. Open any Record in Salesforce. We will take an example of Accounts here.
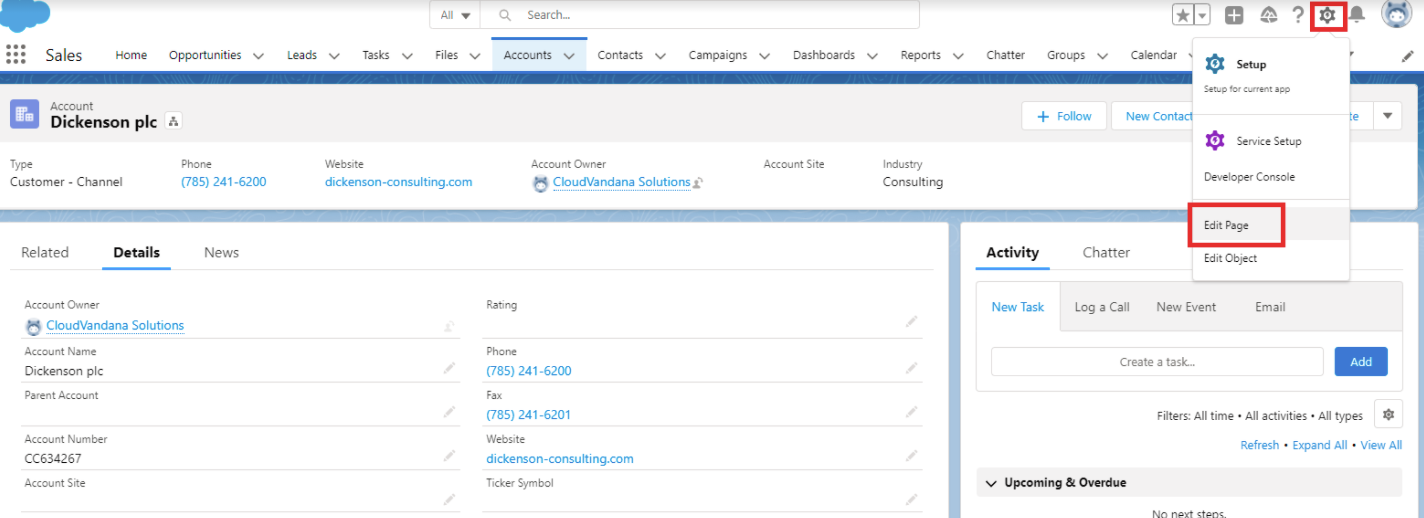
2. From the detail page of the Accounts, Click the gear icon at the top right corner, and select Edit Page to open the Lightning App Builder.
3. Click on the Tabs Page and Click on the Add Tab to add a new tab. Select custom from the dropdown for Tab Label and add the custom label as “CV Files”. You can give any custom label as per your business requirement.
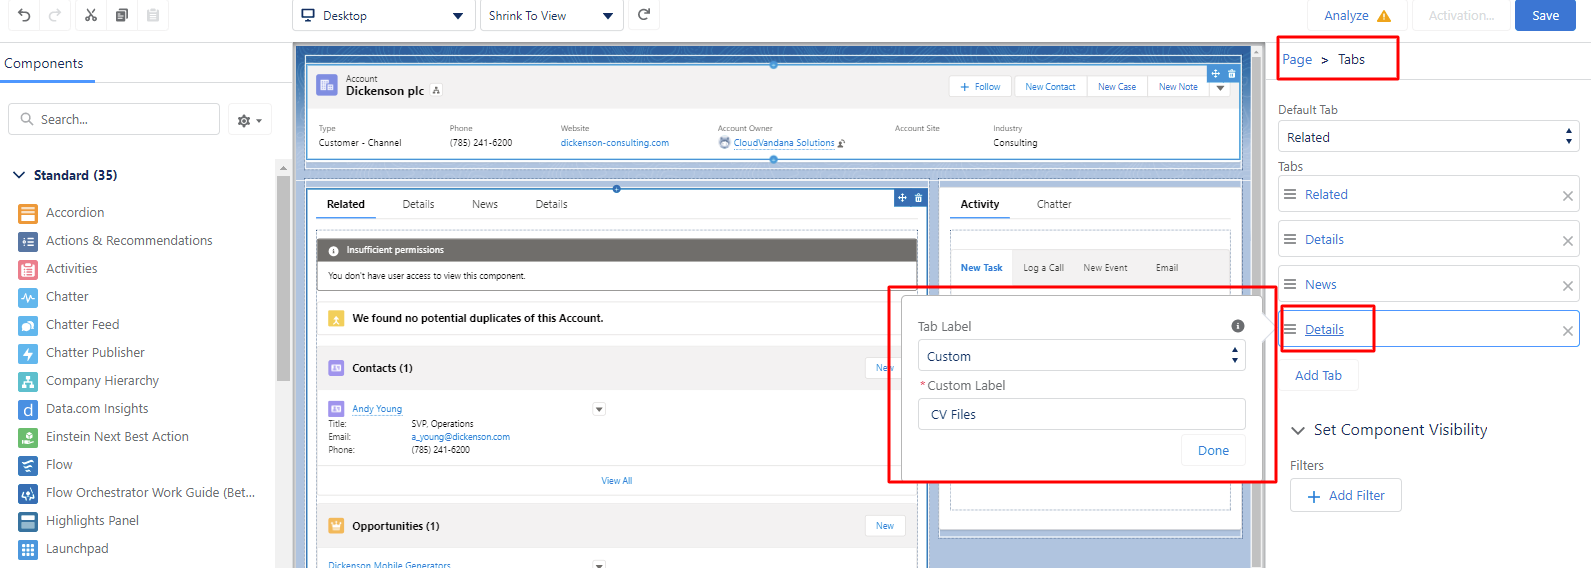
4. Click on Done.
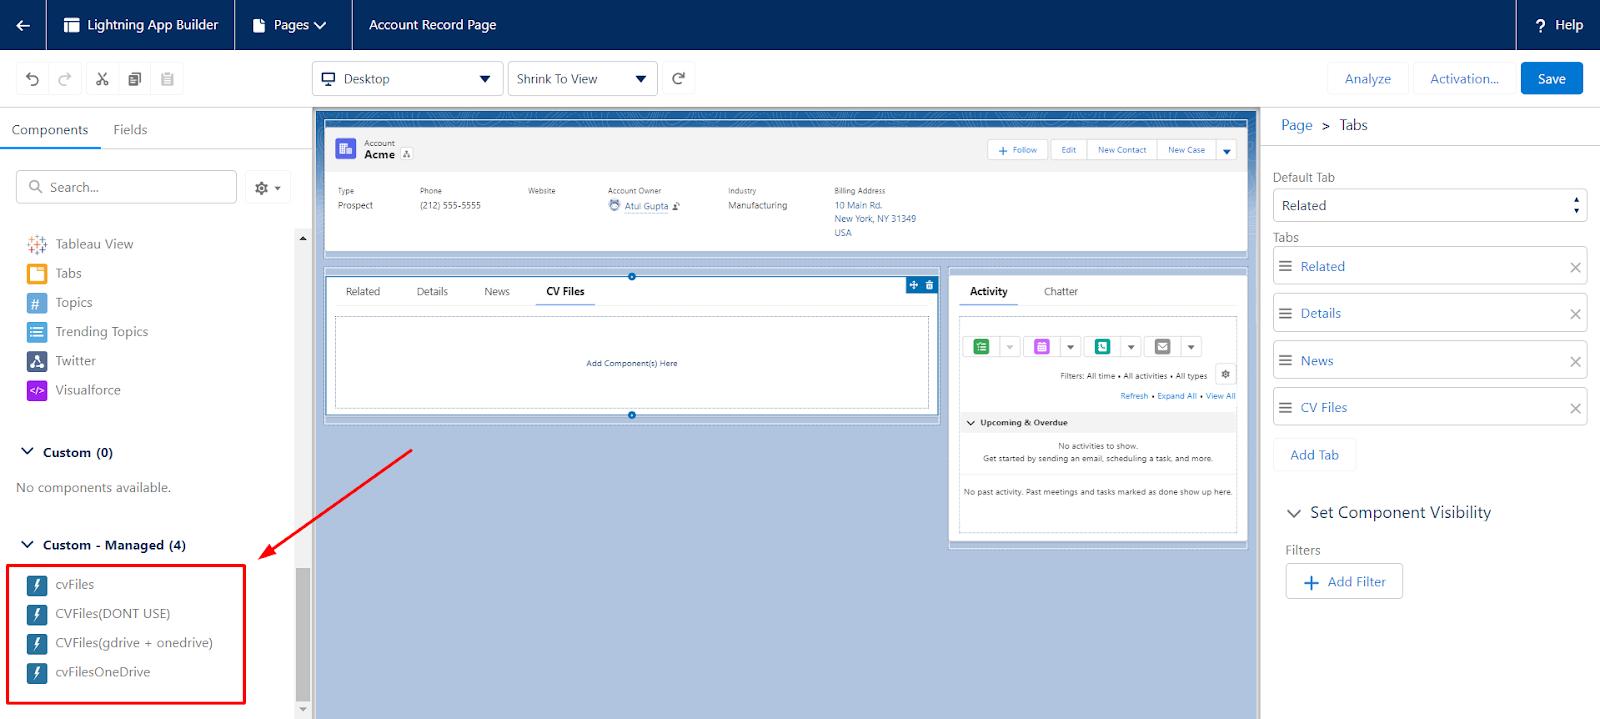
5. Click on the Newly Created Tab “CV Files”. You will see the Add Component(s) Here message.
6. Scroll down in the component section to find the custom components named cvFiles, cvFilesOneDrive, cvFiles(gdrive+onedrive), and cvFiles(DONT USE).
Do not use cvFiles (DONT USE) as it is a legacy component.
Select cvFilesOneDrive or cvFiles (gdrive+onedrive) and drag the custom component to the center of the new tab.
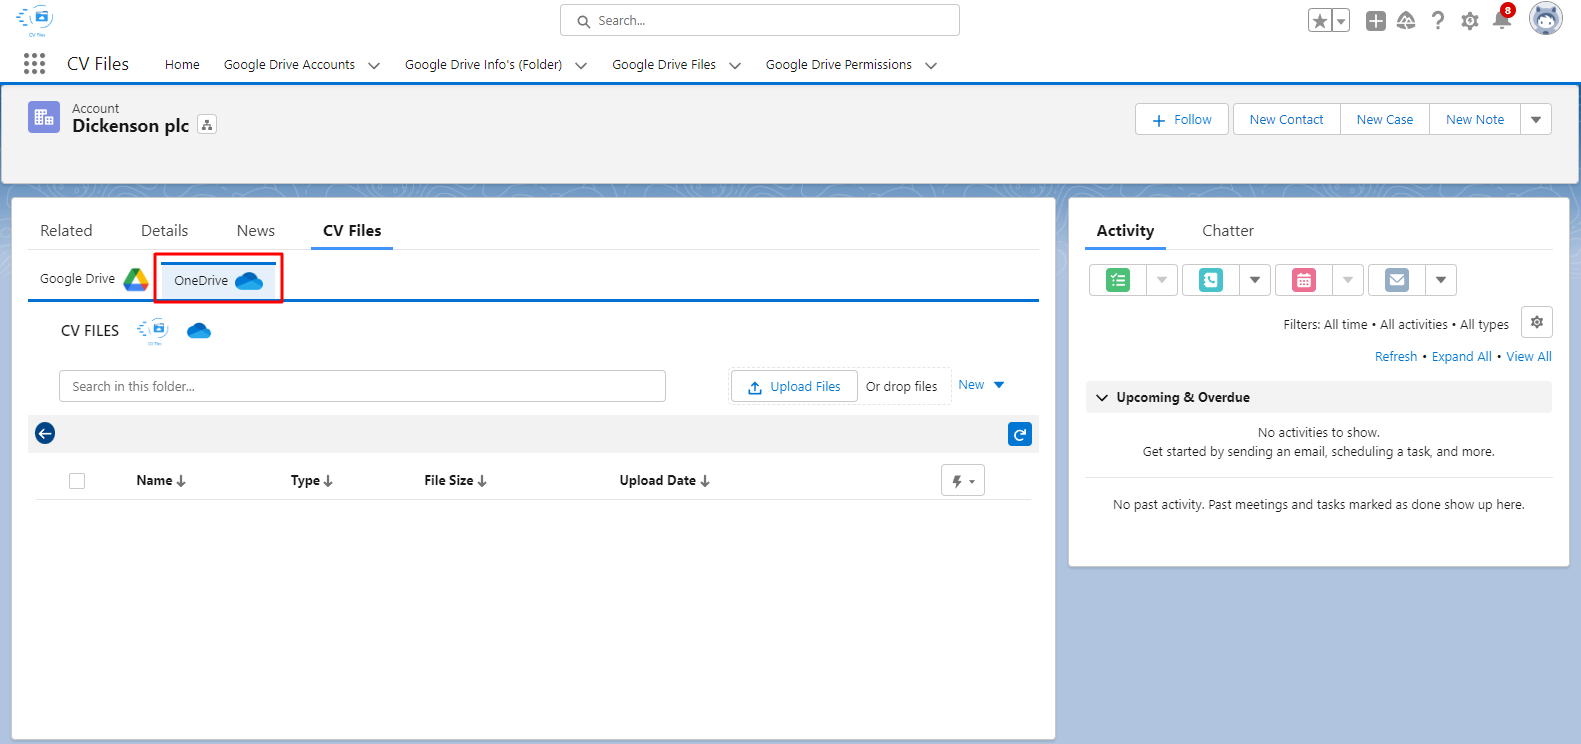
7. After adding the component on the CV Files tab, that record page will look like this-
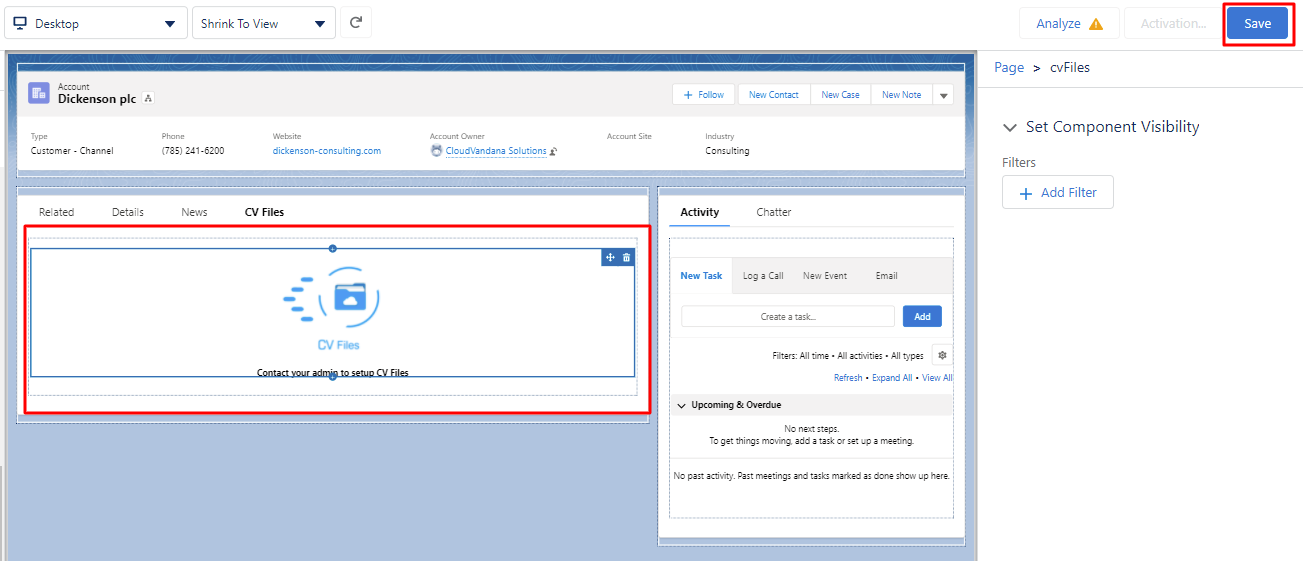
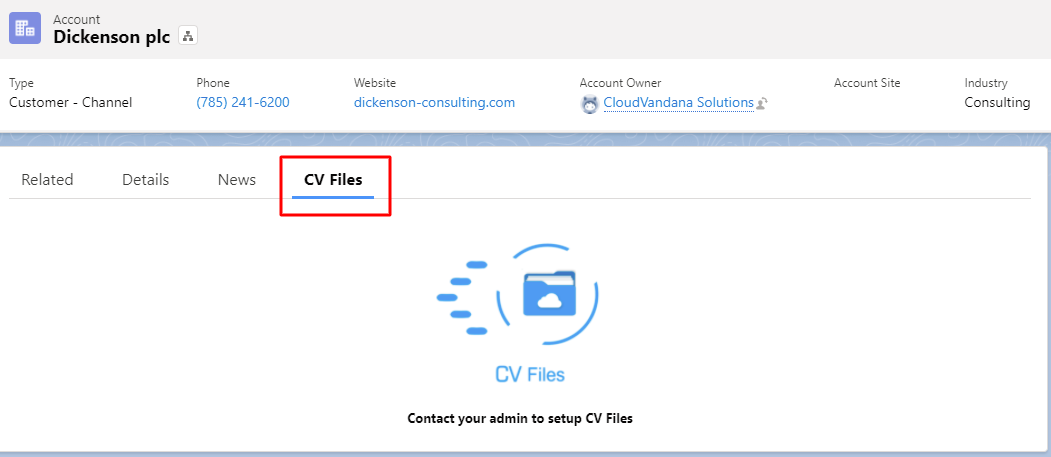
8. Once the page is configured. Click on the Save button on the top right. And go to any Account record and select the CV Files tab.
Now, go to the App Launcher & select the CV Files app. After opening the app, you will be redirected to the Setup Page-
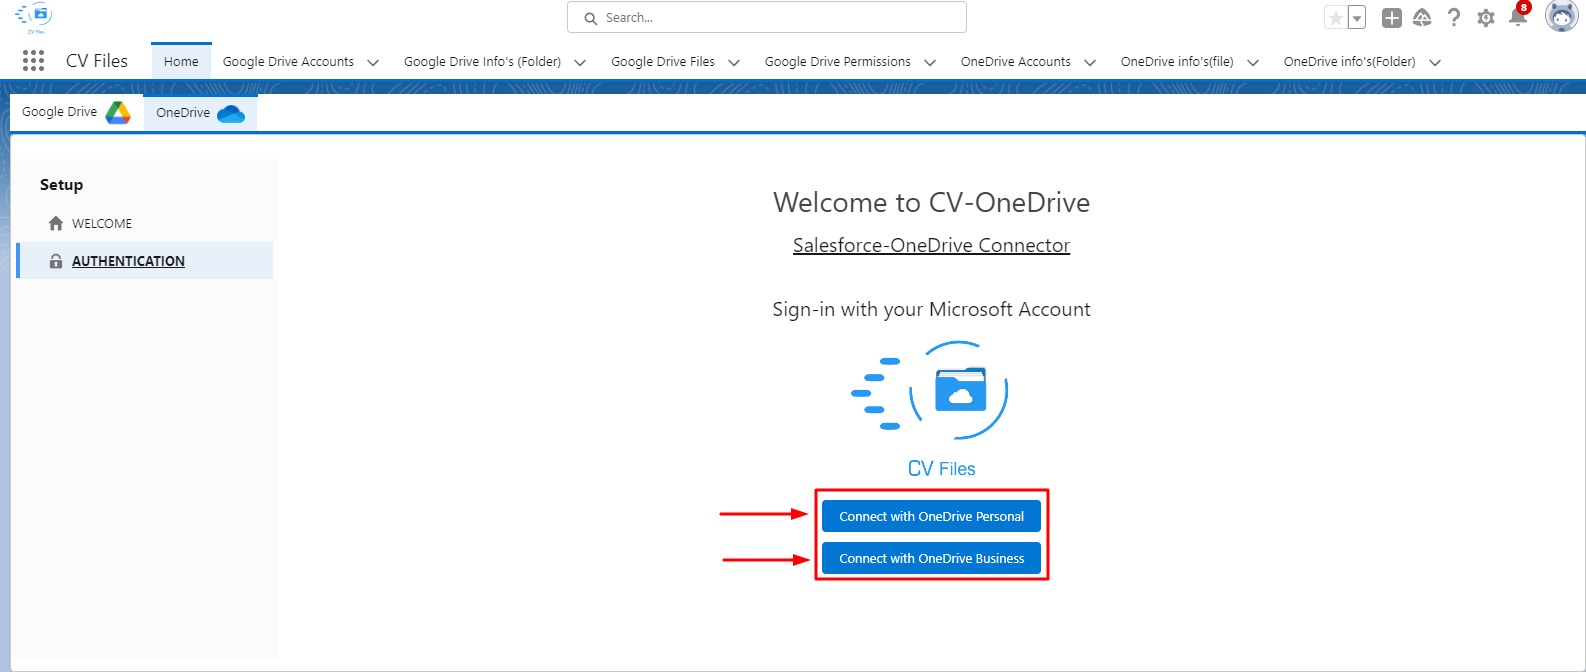
On the Setup Page, you will see two tabs to configure either on your Google account or your one drive account.
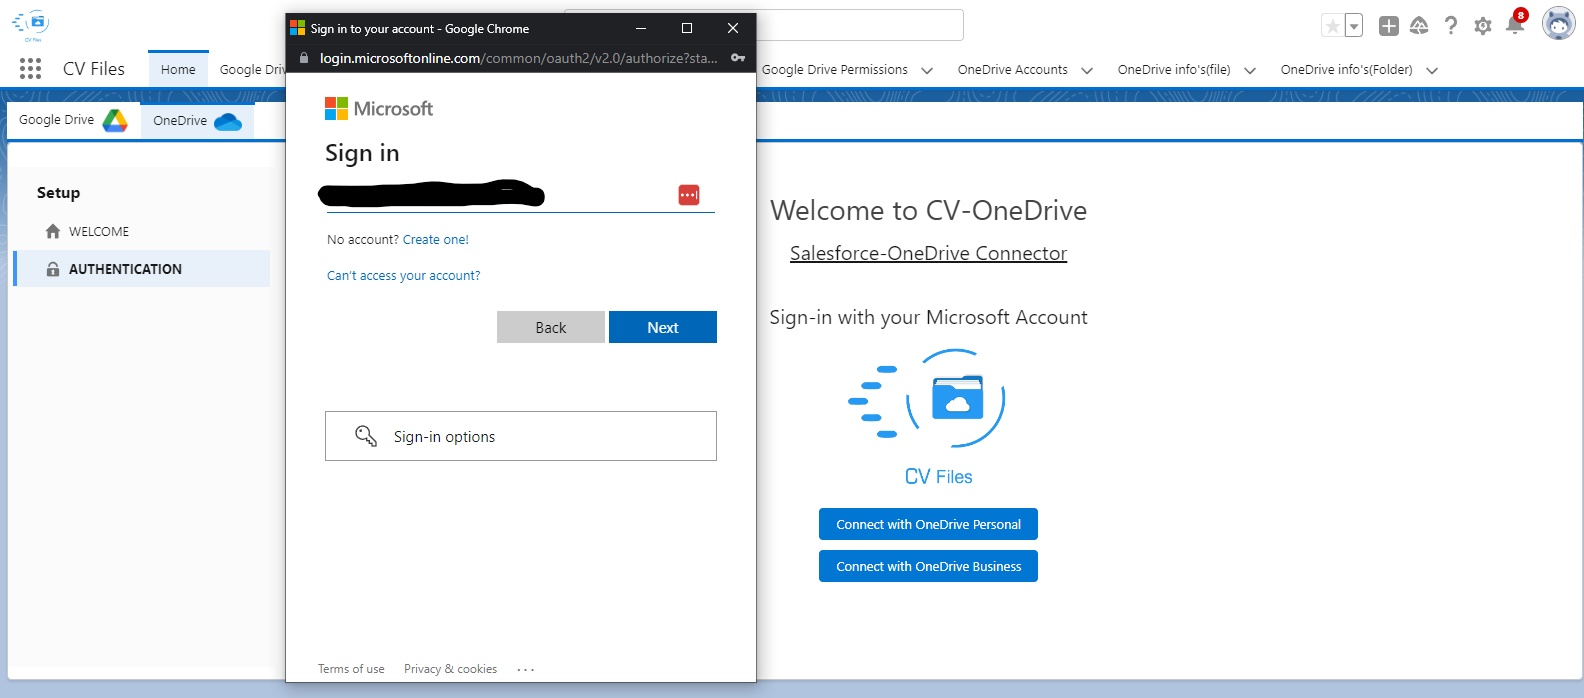
To connect your One drive with your Salesforce org, you will be presented with two options either log in with your One Drive personal Account or One Drive Business Account.
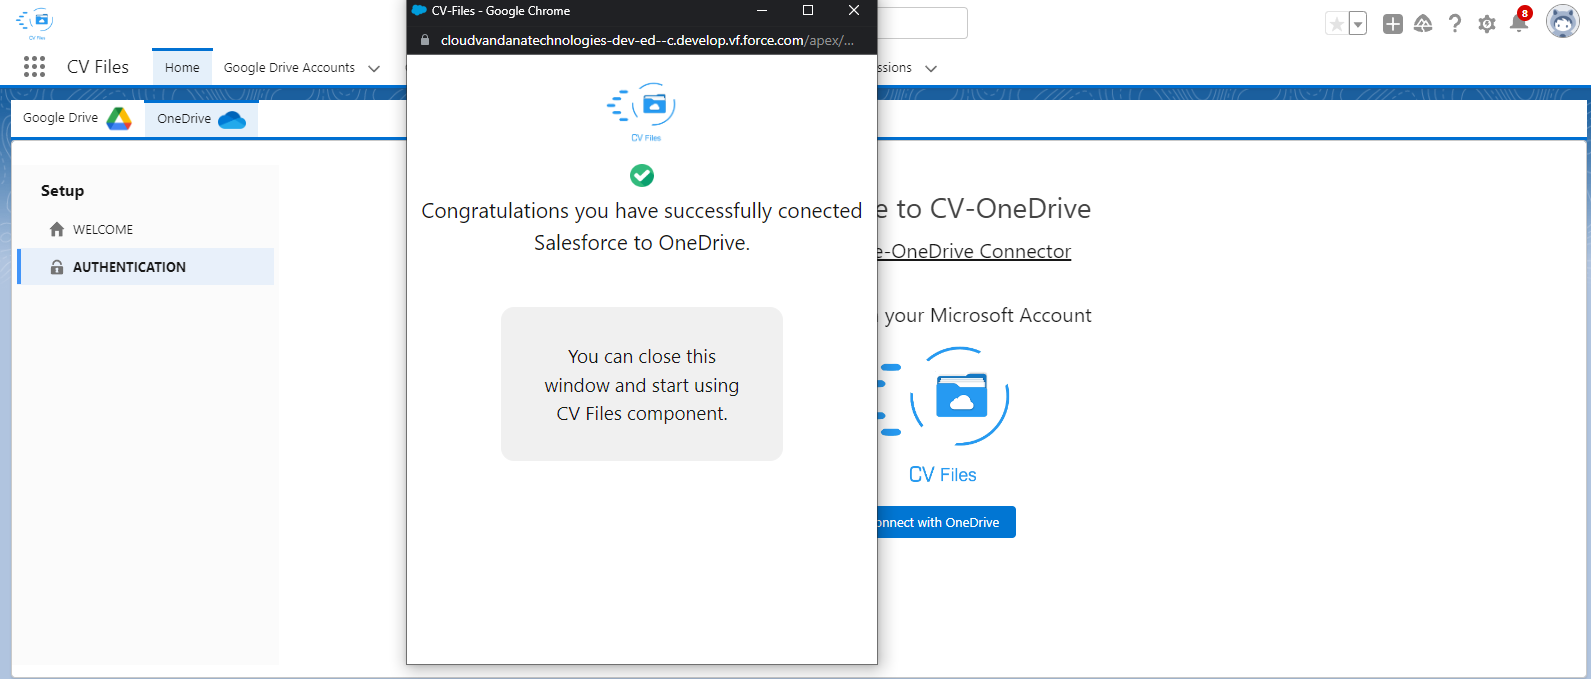
Once you are done with the login, you will get the confirmation message in the pop-up box. And your One drive is connected with the Salesforce account.
Automation-Flow
This section shows how to set up CV Files Google Drive Automation in a Record-Triggered Flow for automating Google Drive folder creation, file/folder linking, moving, or renaming.
Add an Apex class in the Action of a FLOW
Adding an invocable Apex to Flow
- Go to Setup, then select Process Automation, then select Flows
Click the New Flow button in the top right corner. (We are taking an example of a record trigger flow with the account as an object)

2. In the menu, Select Triggered and then select Record-Triggered Flow.


3. In the configuration, select Account as an object from the drop-down and then select A record is created or updated as the triggering condition. You may leave blank in the Requirements section (optional conditions).

4. Click the +(plus) icon after the Start element. Choose Action from the drop-down. In the Action search box, type and select: “CV Files Google Drive Automation”.


5. Label the automation, and now you can see the Google Drive Automation Configuration LWC.

For any assistance with this process, send an email to “apps@cloudvandana.com”
And we will help!